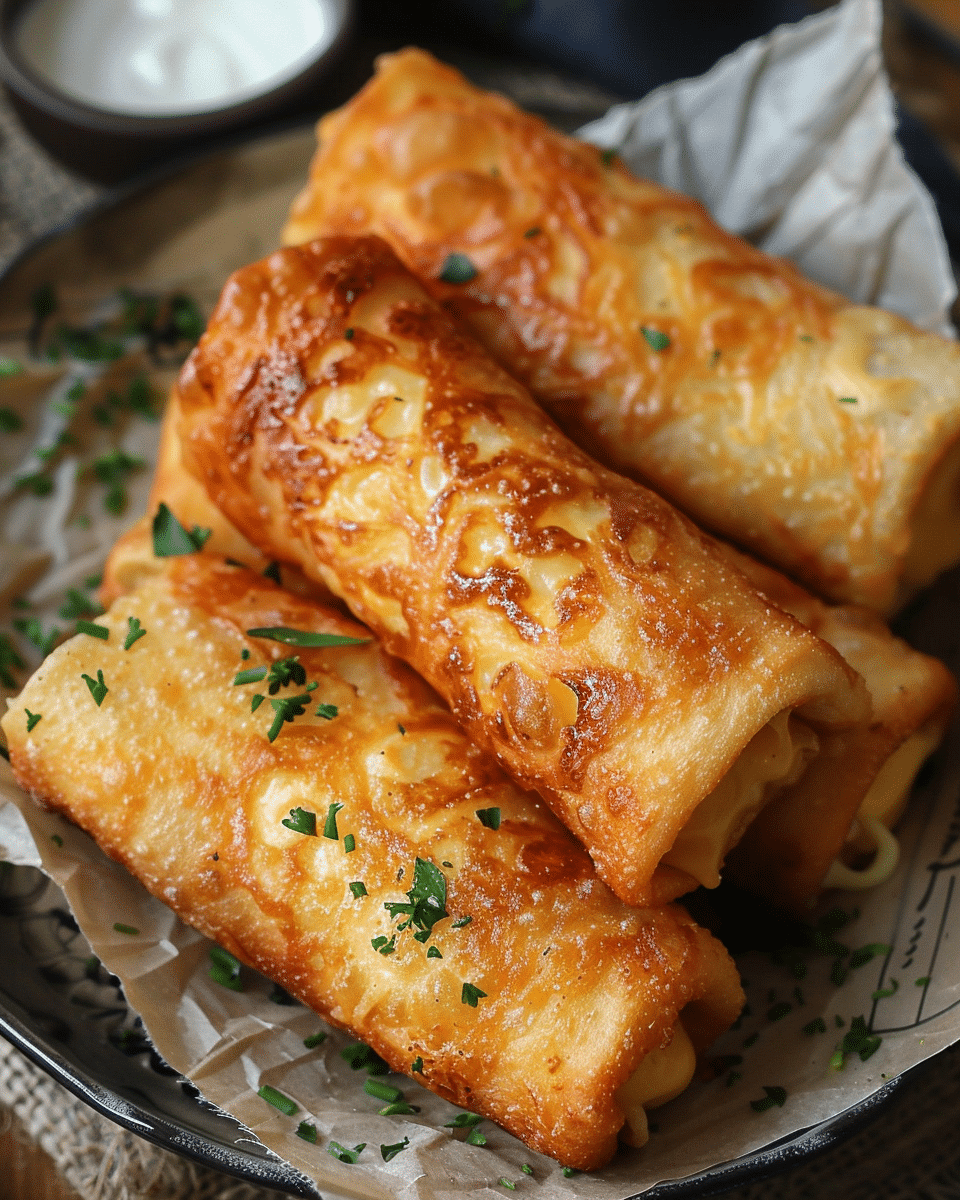
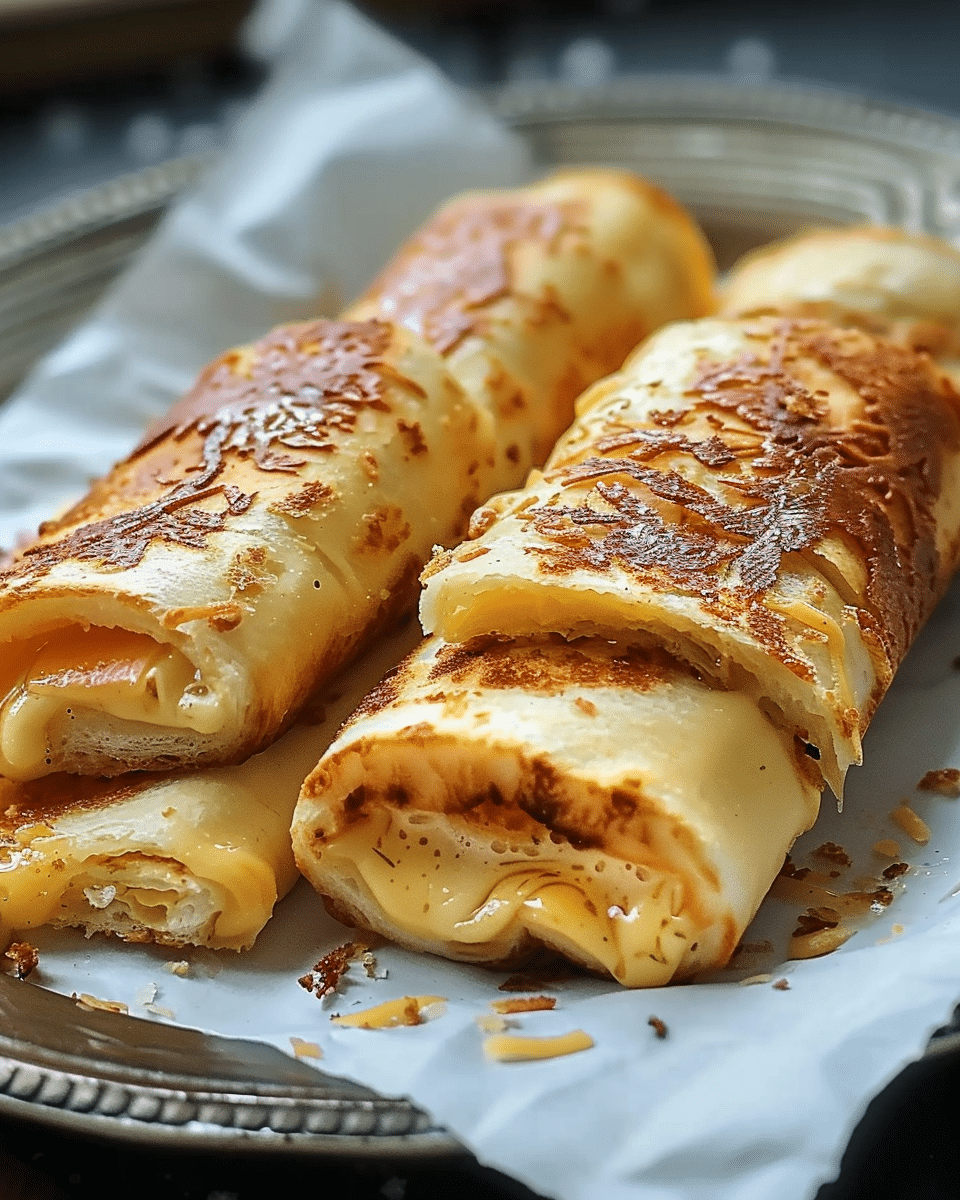
I love this recipe because it is incredibly easy and satisfying. The crispy buttery exterior combined with the soft bread and melted cheese creates the perfect texture in every bite.
I also enjoy how customizable it is. I can switch cheeses, add seasonings, or even experiment with different bread types. It is a great recipe when I want something quick but still comforting and delicious.
Ingredients
(Here’s a tip: Check out the full list of ingredients and measurements in the recipe card below.)
8-10 slices soft white sandwich bread, crusts removed 8-10 slices melting cheese such as cheddar, American, Monterey Jack, Colby Jack, or provolone 4-5 tablespoons unsalted butter, softened or melted optional 1/4 teaspoon garlic powder optional pinch paprika optional dried Italian herbs
Directions
I start by preparing the bread. I cut off the crusts from each slice, then place the bread on a flat surface and use a rolling pin to flatten it as thin as possible. I aim for a very thin, even layer so it rolls easily without tearing.
Next, I place a slice of cheese along one edge of each flattened bread slice. I leave a small border around the edges to prevent the cheese from spilling out too much during cooking. If I want extra flavor, I sprinkle a little paprika or herbs over the cheese.
I roll each slice tightly from the edge with the cheese, forming a compact cylinder. I make sure the roll is tight so it holds together while cooking.
Then I coat each roll with butter. Sometimes I brush melted butter over the surface, and other times I spread softened butter gently. Either way, I make sure the entire outside is coated for even browning.
I heat a skillet over medium-low to medium heat. Once it is warm, I place the roll ups seam-side down in the pan. I cook them for about 2 to 4 minutes on the first side until golden brown.
I continue turning the roll ups every minute or two so all sides become evenly crispy. After about 5 to 8 minutes total, the bread is golden and the cheese inside is fully melted.
I remove them from the pan and serve them immediately while they are hot and gooey.
Servings and timing
I get about 8 to 10 roll ups from this recipe, which makes around 2 to 4 servings depending on portion size.
I usually need about 20 to 25 minutes from start to finish, including preparation and cooking time. It is a quick option when I need something fast and satisfying.
Variations
I like trying different cheeses to change the flavor. Sometimes I use sharp cheddar for a stronger taste, or mozzarella for a stretchy, mild texture. Mixing cheeses also works really well.
I also enjoy adding small extras inside the roll ups. Thin slices of turkey, ham, or even a bit of cooked bacon can make them more filling. For a slightly gourmet version, I add a touch of garlic butter or sprinkle herbs inside.
If I want a sweeter twist, I sometimes use cream cheese with a little jam for a dessert-style version.
storage/reheating
I store any leftovers in an airtight container in the refrigerator for up to 2 days. I find they are best fresh, but they can still be enjoyed later.
To reheat, I warm them in a skillet over low heat to bring back the crispiness. I avoid the microwave when possible because it can make the bread soft instead of crispy.
FAQs
Can I use whole wheat bread?
I can use whole wheat bread, but I make sure it is soft and fresh so it flattens easily without cracking.
How do I keep the roll ups from unrolling?
I roll them tightly and place them seam-side down in the pan first. This helps seal them as they cook.
Can I use shredded cheese instead of slices?
I can use shredded cheese, but I keep the amount small so it does not spill out too much during cooking.
What is the best pan to use?
I prefer a non-stick skillet or griddle because it helps achieve an even golden crust without sticking.
Can I make these ahead of time?
I can prepare the roll ups ahead and keep them in the refrigerator. I cook them fresh when ready to serve for the best texture.
Conclusion
I love how these grilled cheese roll ups turn a classic comfort food into something fun and easy to share. They are crispy, cheesy, and incredibly satisfying with very little effort. Whenever I want a quick snack or a creative twist on grilled cheese, this is one of my favorite recipes to make.
Prepare the Bread:
Remove crusts from each slice of bread. Using a rolling pin, flatten each slice until very thin (about 1/16 to 1/8 inch thick).
Add the Cheese:
Place a slice of cheese near one edge of the flattened bread, leaving a small border. Add optional seasonings if desired.
Roll the Bread:
Starting from the cheese side, roll the bread tightly into a compact cylinder. Place seam-side down to hold shape.
Butter the Rolls:
Brush each roll-up with melted butter or spread softened butter evenly on all sides.
Cook the Roll Ups:
Heat a non-stick skillet over medium-low to medium heat. Place roll-ups seam-side down in the pan.
Cook for 2–4 minutes until golden brown, then rotate and cook all sides until crispy and cheese is melted (about 5–8 minutes total).
Serve:
Remove from pan and serve immediately while hot and crispy.
Notes
Softer bread works best for easy rolling without tearing.
Keep heat moderate to avoid burning before cheese melts.
Don’t overfill with cheese to prevent leaking.
Serve with ketchup, tomato soup, or dipping sauces.


