I enjoy this recipe because it combines two beloved treats into one irresistible pastry. The dough bakes up soft and gooey, while the apple filling adds sweetness, warmth, and a wonderful texture. I also like that the rolls can be prepared ahead of time, making them perfect for family gatherings, holiday mornings, or weekend baking projects. The reserved apple filling adds even more flavor when spooned over the warm rolls after baking.
Ingredients
(Here’s a tip: Check out the full list of ingredients and measurements in the recipe card below.)
For the Dough
500 g all-purpose flour
1½ tsp salt
2¼ tsp instant dry yeast
120 g sugar
240 ml lukewarm milk
60 g unsalted butter, melted and cooled to room temperature
1 egg, at room temperature
½ tsp vanilla extract or essence
For the Apple Pie Filling
900 g apples (Pink Lady, Fuji, or Royal Gala work well)
60 g unsalted butter
170 g brown sugar
1 tbsp ground cinnamon
1 tbsp cornstarch
¼ tsp salt
2 tbsp water
Directions
In a bowl, I mix the lukewarm milk, egg, vanilla extract, and melted butter.
In a separate large bowl, I combine the flour, salt, yeast, and sugar.
I make a well in the center of the dry ingredients and pour in the wet mixture.
I mix everything together until a sticky, uniform dough forms. The dough is supposed to be sticky, which helps create soft and gooey rolls after baking.
I cover the dough with cling film and let it proof for about 1 hour or until doubled in size. If my kitchen is cool, I place it in the oven with only the light turned on.
Making the Apple Pie Filling
I peel, core, and dice the apples into small cubes.
I place the apples, butter, brown sugar, cinnamon, cornstarch, salt, and water in a saucepan.
I cook the mixture over medium heat for 10–15 minutes until the apples soften and the sauce thickens.
I allow the filling to cool completely and reserve one-quarter of it for serving after baking.
Assembly
I lightly flour my work surface and roll the dough into a rectangle measuring approximately 40 x 30 cm (16 x 12 inches).
I spread the cooled apple filling evenly across the dough using a spatula.
Starting from one long side, I tightly roll the dough into a log.
I slice the log into rolls about three fingers thick.
I arrange the rolls in a baking pan lined with baking paper, leaving some space between each roll for expansion.
I let the rolls proof for another 30 minutes in a warm place.
I bake them in a preheated oven at 180°C (350°F) for 20–30 minutes or until lightly golden brown on top.
Once baked, I spoon the reserved apple filling over the warm rolls before serving.
Servings and Timing
Servings: 10 rolls
Prep Time: 20 minutes
First Proof: 1 hour
Filling Preparation: 15 minutes
Second Proof: 30 minutes
Baking Time: 20–30 minutes
Total Time: Approximately 2 hours 25 minutes
Variations
I sometimes add chopped pecans or walnuts to the filling for extra crunch.
I like adding a pinch of nutmeg or allspice to enhance the apple pie flavor.
For a richer finish, I drizzle cream cheese frosting over the warm rolls.
I occasionally use a mixture of different apple varieties for a more complex flavor.
I can substitute part of the brown sugar with maple syrup for a subtle maple note.
Storage/Reheating
I store leftover rolls in an airtight container at room temperature for up to 2 days. For longer storage, I keep them in the refrigerator for up to 5 days.
To reheat, I warm individual rolls in the microwave for 20–30 seconds or place them in a 160°C (325°F) oven for about 8–10 minutes until heated through. If the rolls seem dry, I cover them loosely with foil while reheating.
I can also freeze the baked rolls for up to 3 months. I thaw them overnight in the refrigerator before reheating.
FAQs
Can I prepare the rolls the night before?
Yes. I often assemble the rolls, place them in the baking dish, cover them tightly, and refrigerate them overnight. The next morning, I let them sit at room temperature for about 30–45 minutes before baking.
What apples work best for this recipe?
I like using Pink Lady, Fuji, or Royal Gala apples because they hold their shape well and provide a balanced sweetness.
Why is my dough so sticky?
This dough is intentionally sticky. I find that the extra moisture creates softer and gooier cinnamon rolls after baking.
Can I freeze the unbaked rolls?
Yes. I freeze the shaped rolls before the second proof. When ready to bake, I thaw them overnight in the refrigerator, allow them to rise, and then bake as directed.
How do I know when the rolls are done baking?
I look for a light golden-brown color on top and make sure the center rolls are fully set and no longer doughy.
Conclusion
I love how these Apple Pie Cinnamon Rolls combine the cozy flavors of apple pie with the soft texture of homemade cinnamon rolls. The tender apples, warm cinnamon, and fluffy dough create a comforting treat that works beautifully for breakfast, brunch, or dessert. Whenever I make them, they quickly become a favorite that disappears almost as soon as they come out of the oven.
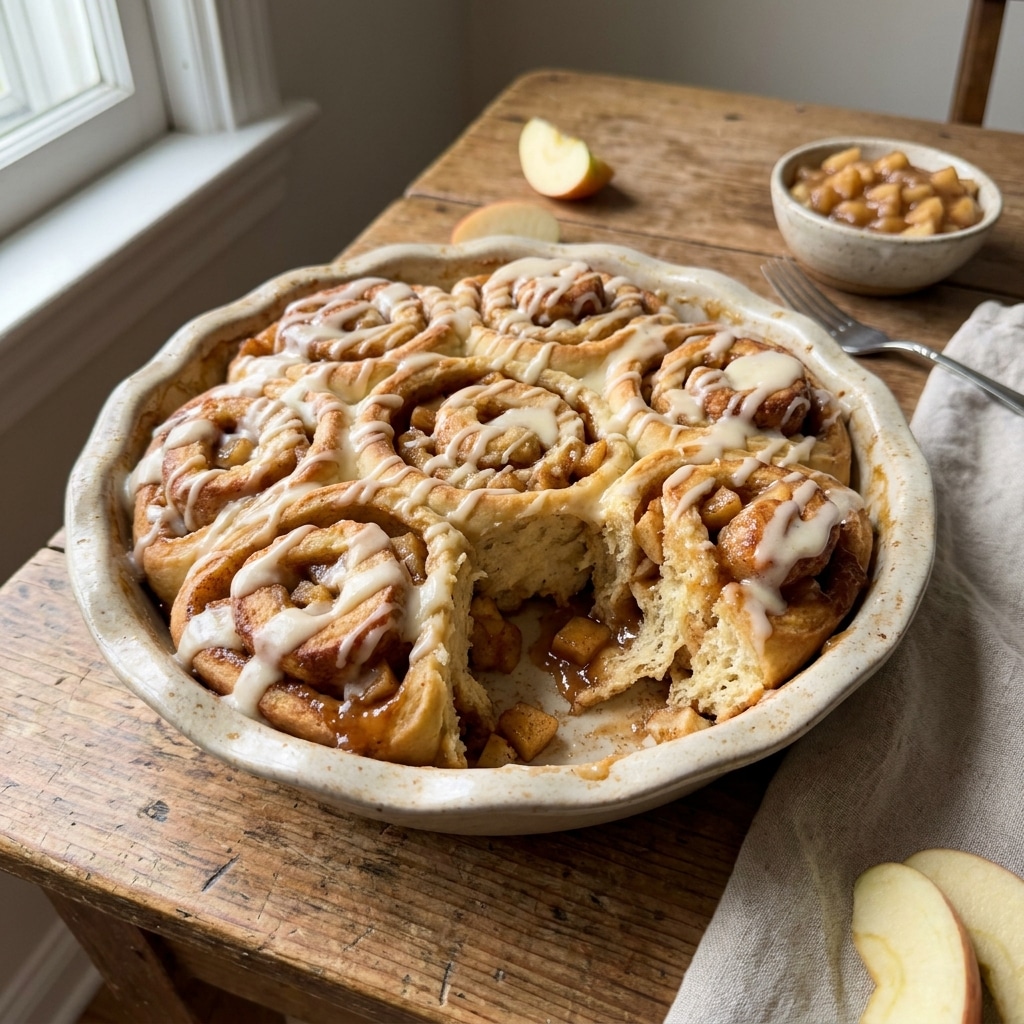
Soft, gooey Apple Pie Cinnamon Rolls packed with cinnamon-spiced apples and sweet bakery-style flavor. Perfect for breakfast, brunch, or holiday baking.
Author:Ella
Prep Time:40 minutes
Cook Time:30 minutes
Total Time:2 hours 40 minutes
Yield:10 cinnamon rolls
Category:Breakfast, Dessert
Method:Baking
Cuisine:American
Diet:Vegetarian
Ingredients
For the Dough
500 g all-purpose flour
1½ tsp salt
2¼ tsp instant dry yeast
120 g granulated sugar
240 ml lukewarm milk
60 g unsalted butter, melted and cooled
1 egg, room temperature
½ tsp vanilla extract
For the Apple Pie Filling
900 g apples (Pink Lady, Fuji, or Royal Gala)
60 g unsalted butter
170 g brown sugar
1 tbsp ground cinnamon
1 tbsp cornstarch
¼ tsp salt
2 tbsp water
Instructions
Prepare the Dough
In a bowl, combine the lukewarm milk, egg, vanilla extract, and melted butter.
In a separate large bowl, whisk together the flour, salt, yeast, and sugar.
Make a well in the center of the dry ingredients and pour in the wet ingredients.
Mix until a soft, sticky dough forms. The dough should remain slightly sticky for soft and gooey rolls.
Cover the bowl with plastic wrap or a clean towel and let the dough rise for 1 hour, or until doubled in size.
Make the Apple Pie Filling
Peel, core, and dice the apples into small cubes.
Add the apples, butter, brown sugar, cinnamon, cornstarch, salt, and water to a saucepan.
Cook over medium heat for 10–15 minutes, stirring occasionally, until the apples soften and the mixture thickens.
Allow the filling to cool completely. Reserve ¼ of the filling for topping the baked rolls.
Assemble the Cinnamon Rolls
Lightly flour a work surface and roll the dough into a rectangle approximately 40 x 30 cm (16 x 12 inches).
Spread the cooled apple pie filling evenly over the dough.
Starting from the long edge, tightly roll the dough into a log.
Slice into 10 equal rolls (about 3-finger widths thick).
Place the rolls in a parchment-lined baking dish, leaving a small gap between each roll.
Final Rise and Bake
Cover and let the rolls rise for 30 minutes in a warm place.
Preheat the oven to 180°C (350°F).
Bake for 20–30 minutes, or until the tops are lightly golden brown.
Spoon the reserved apple pie filling over the warm rolls before serving.
Notes
Use firm apples such as Pink Lady, Fuji, or Gala for the best texture.
Cooling the filling completely prevents the dough from becoming soggy.
A sticky dough creates softer, more tender cinnamon rolls.
Store leftovers in an airtight container for up to 3 days.
Reheat briefly before serving for the best flavor and texture.
For extra indulgence, drizzle with cream cheese frosting or vanilla glaze.


