Why You’ll Love This Recipe
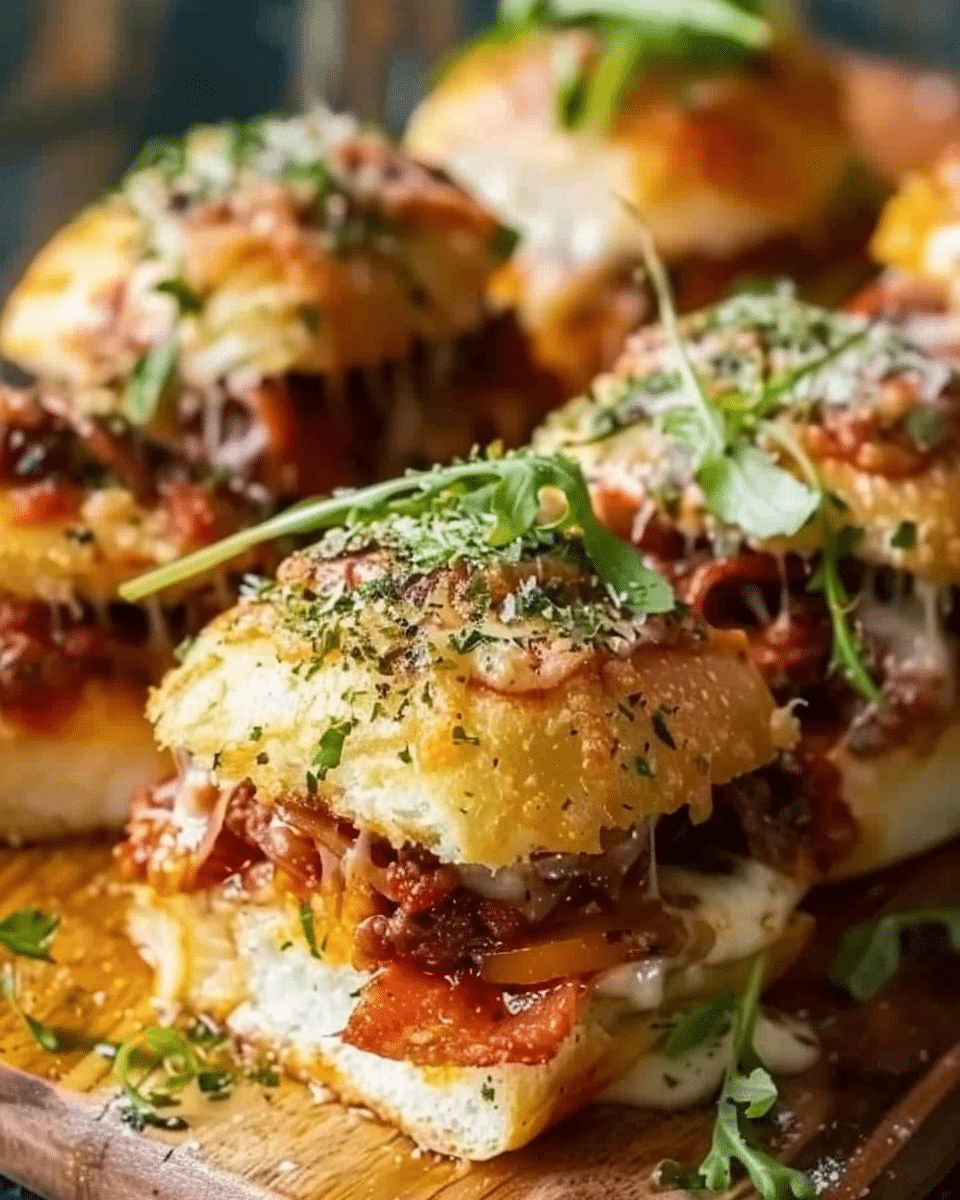
I love how these sliders take the best parts of a pizza and turn them into a shareable, cheesy, and crave-worthy appetizer. The homemade pizza sauce gives them an authentic flavor, and the mix of cheddar, mozzarella, and Parmesan adds that extra melty magic. They’re easy to customize with my favorite toppings and come together quickly. Plus, using slightly stale rolls helps them hold up to all that saucy goodness without getting soggy.
Ingredients
(Here’s a tip: Check out the full list of ingredients and measurements in the recipe card below.)
-
white rolls, preferably slightly stale
-
pepperoni slices, halved
-
grated cheddar and mozzarella mix
-
Parmesan, finely grated
For the pizza sauce:
-
plum tomatoes
-
olive oil
-
garlic cloves, thinly sliced
-
Italian dried mixed herbs
-
chilli flakes
-
fresh basil, stalks included
Directions
-
I start by preheating the oven to 200°C (180°C fan) or 400°F and lining a baking tray with parchment paper.
-
To make the pizza sauce, I heat olive oil in a saucepan and sauté the sliced garlic until fragrant. Then I stir in the plum tomatoes, Italian herbs, and chili flakes. I toss in the basil stalks and let the sauce simmer for 10–12 minutes until thickened. After removing the basil stalks, I season the sauce with salt and pepper.
-
Next, I slice the rolls in half horizontally, keeping the tops and bottoms connected. I place the bottom halves on the prepared tray.
-
I spoon the pizza sauce generously over the roll bases, then add half of the cheese, followed by the halved pepperoni slices, and finish with the remaining cheese. I put the roll tops back on.
-
I sprinkle Parmesan on top and loosely cover the sliders with foil.
-
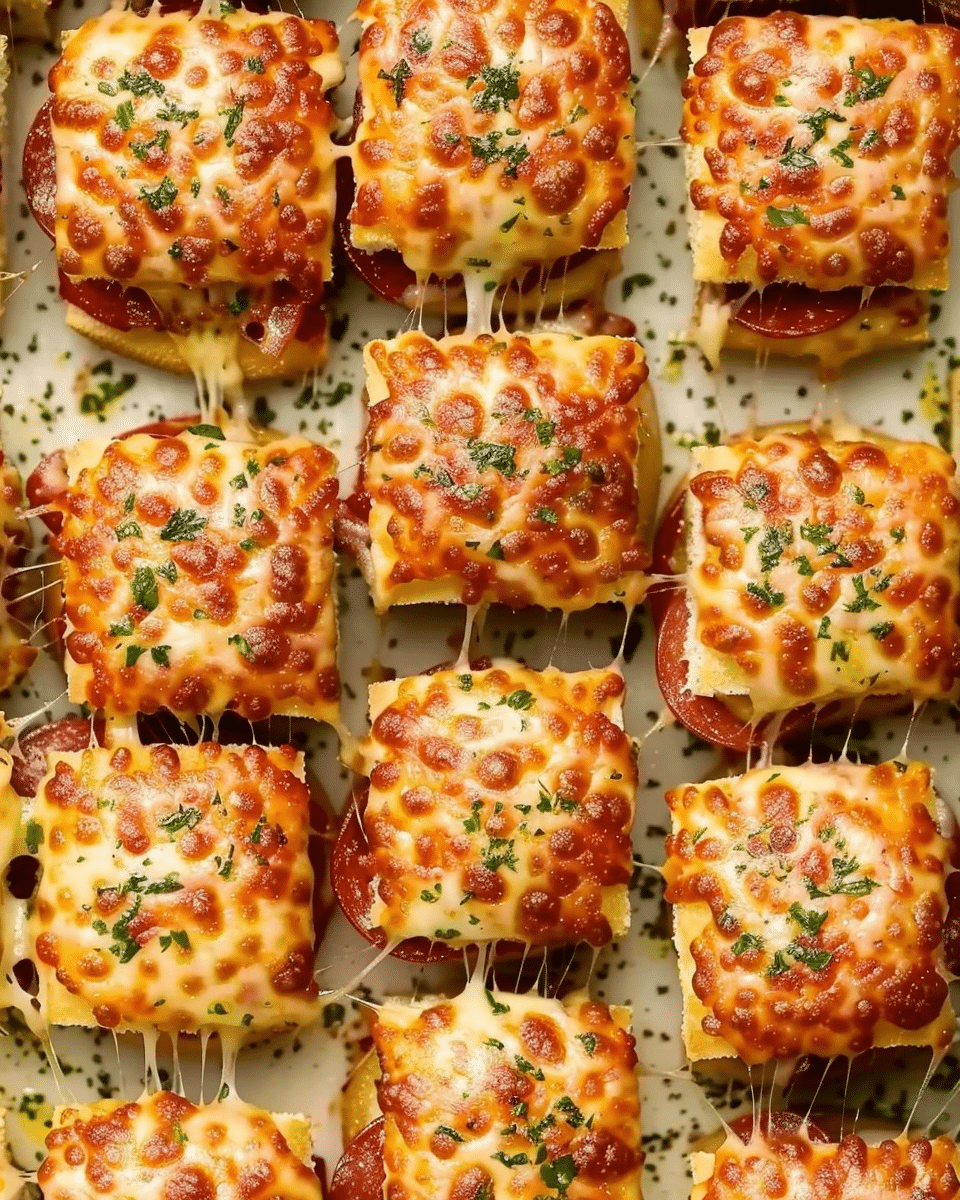
I bake them for 10–12 minutes covered, then uncover and bake another 3–5 minutes until the tops are golden and the cheese is bubbly.
-
I let them cool slightly before pulling them apart and serving.
Servings and timing
This recipe makes 8 sliders.
Prep time: 15 minutes
Cook time: 20 minutes
Total time: 35 minutes
Variations
-
I sometimes swap pepperoni for cooked sausage, mushrooms, or sliced olives when I want to mix up the toppings.
-
For a vegetarian version, I skip the meat and load them up with roasted vegetables or spinach.
-
If I’m craving spice, I add jalapeño slices between the layers.
-
I like brushing the tops of the rolls with garlic butter before baking for extra flavor.
Storage/Reheating
If I have leftovers, I store them in an airtight container in the fridge for up to 3 days. To reheat, I wrap the sliders in foil and bake them at 180°C (350°F) for about 10 minutes until warmed through. They also reheat well in an air fryer for a quick crisp-up.
FAQs
Can I make Pizza Sliders ahead of time?
Yes, I often assemble the sliders up to a day in advance and refrigerate them. When I’m ready to bake, I just pop them in the oven as directed, adding a couple of extra minutes if needed.
Can I use store-bought pizza sauce?
Absolutely. When I’m short on time, I use a good-quality store-bought pizza sauce instead of making it from scratch. It still turns out delicious.
What kind of rolls work best?
I prefer using slightly stale white rolls—they soak up the sauce without becoming soggy and hold together better when baked. Slider buns or dinner rolls both work well.
How do I keep the sliders from becoming soggy?
Using slightly stale rolls helps a lot. I also make sure the pizza sauce isn’t too runny by simmering it long enough to thicken before assembling the sliders.
Can I freeze the sliders?
Yes, I freeze the baked and cooled sliders wrapped tightly in foil. When I want to serve them, I reheat them in the oven (still wrapped) at 180°C (350°F) until hot all the way through.
Conclusion
These Pizza Sliders are a total crowd-pleaser and one of my go-to recipes when I want something easy, cheesy, and incredibly satisfying. With their melty layers and bold flavors, they’re always a hit—whether I’m making them for a gathering or just treating myself to a fun, pizza-inspired snack.
Pizza Sliders
5 Stars 4 Stars 3 Stars 2 Stars 1 Star
No reviews
These cheesy pizza sliders are packed with sauce, pepperoni, and melty cheese—perfect for parties, game nights, or a fun family dinner everyone will love.
- Author: Ella
- Prep Time: 15 minutes
- Cook Time: 20 minutes
- Total Time: 35 minutes
- Yield: 8 sliders
- Category: Appetizer
- Method: Baking
- Cuisine: American
Ingredients
Slider Assembly:
2 x 300g packs of 4 white rolls (preferably slightly stale)
80g pepperoni slices, halved
200g grated cheddar and mozzarella mix
10g Parmesan cheese, finely grated
Pizza Sauce:
1 x 400g tin plum tomatoes
2 tbsp olive oil
2 garlic cloves, thinly sliced
1 tsp Italian dried mixed herbs
¼ tsp chili flakes
10g fresh basil, stalks included
Salt and pepper, to taste
Instructions
Preheat Oven:
Preheat your oven to 200°C (180°C fan) or 400°F. Line a baking tray with parchment paper.
Make the Pizza Sauce:
In a saucepan over medium heat, heat olive oil and sauté garlic until fragrant.
Add plum tomatoes, Italian herbs, chili flakes, and basil stalks. Simmer for 10–12 minutes, stirring occasionally.
Remove basil stalks, season with salt and pepper, and set sauce aside.
Assemble Sliders:
Slice rolls in half horizontally, keeping tops and bottoms intact.
Place bottom halves on the prepared tray and spread with pizza sauce.
Layer half of the cheese, then pepperoni, and finish with remaining cheese.
Place roll tops back on and sprinkle with Parmesan cheese.
Bake:
Cover loosely with foil and bake for 10–12 minutes. Remove foil and bake uncovered for another 3–5 minutes until cheese is melty and tops are golden.
Serve:
Let cool slightly before pulling apart. Serve warm, optionally with extra pizza sauce or garlic butter for dipping.
Notes
Use day-old or slightly stale rolls for best texture—they hold up better with the sauce.
Customize with other toppings like cooked sausage, mushrooms, olives, or jalapeños.
These sliders can be made ahead and refrigerated before baking—just add a few extra minutes to bake time.


