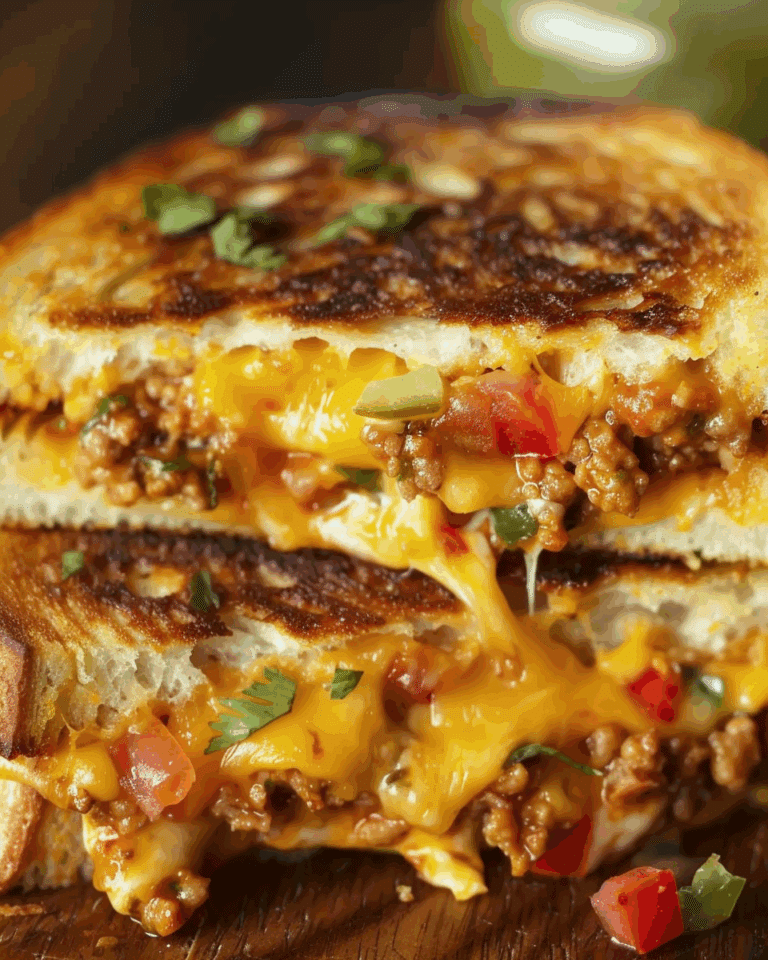
Green Chile and Extra Cheese Chilaquiles are the ultimate comfort food I turn to when I want something hearty, cheesy, and full of bold flavors. This classic Mexican-inspired dish gets a flavorful twist with the addition of tangy green chiles and loads of melted cheese. Whether I’m serving it for breakfast, brunch, or dinner, it’s a guaranteed hit every time.
Why You’ll Love This Recipe
I love this recipe because it comes together quickly with pantry staples and delivers an incredible combination of textures—crispy, saucy, and cheesy all in one bite. The green chiles bring just the right amount of heat and brightness, while the extra cheese makes everything rich and satisfying. It’s a great way to use up leftover tortillas and can easily be adapted to suit whatever I have on hand.
Ingredients
(Here’s a tip: Check out the full list of ingredients and measurements in the recipe card below.)
-
Corn tortillas, cut into wedges
-
Green enchilada sauce or salsa verde
-
Canned green chiles
-
Shredded cheese (I like to use a mix of Monterey Jack and cheddar)
-
Onion, finely chopped
-
Garlic, minced
-
Oil for frying
-
Salt and pepper to taste
-
Optional toppings: sour cream, avocado, cilantro, fried egg
Directions
-
I start by heating oil in a large skillet and frying the tortilla wedges until they’re golden and crispy. I then remove them and let them drain on a paper towel.
-
In the same skillet, I sauté the chopped onion and garlic until fragrant.
-
I pour in the green enchilada sauce and canned green chiles, letting it simmer for a few minutes.
-
I return the crispy tortillas to the skillet, tossing them gently in the sauce to coat them without losing their crispness.
-
I sprinkle a generous amount of shredded cheese over the top and cover the skillet just long enough for the cheese to melt.
-
I finish it off with my favorite toppings like sour cream, avocado slices, and a sprinkle of fresh cilantro. Sometimes I’ll even add a fried egg on top for an extra indulgent touch.
Servings and timing
This recipe serves 4 people.
Prep time: 10 minutes
Cook time: 15 minutes
Total time: 25 minutes
Variations
When I want to switch things up, I use red chile sauce instead of green for a different flavor profile. For extra protein, I’ll mix in shredded chicken, cooked chorizo, or even black beans. I also like experimenting with different cheeses like queso fresco or pepper jack to match my mood.
Storage/reheating
I store leftovers in an airtight container in the fridge for up to 2 days. To reheat, I pop them in a skillet over medium heat until warmed through, adding a splash of water or extra sauce to keep them from drying out. The tortillas do soften more as they sit, but the flavors only get better.
FAQs
What are chilaquiles?
Chilaquiles are a traditional Mexican dish made from fried tortillas simmered in sauce, often served with cheese, eggs, or other toppings.
Can I use tortilla chips instead of fresh tortillas?
Yes, I sometimes use thick-cut tortilla chips for a quicker version, though fresh-fried tortillas have a better texture.
Is this dish spicy?
It depends on the green chiles and sauce I use. I can always choose mild versions or add extra spice if I like it hotter.
Can I make it vegan?
Absolutely. I just swap the cheese for a dairy-free version and skip the eggs or meat-based add-ins.
Can I bake the chilaquiles instead of frying?
Yes, for a lighter version, I bake the tortilla wedges at 400°F until crispy, then proceed with the rest of the recipe.
Conclusion
Green Chile and Extra Cheese Chilaquiles are one of my favorite go-to meals when I want something flavorful, cheesy, and deeply satisfying. It’s easy to make, endlessly customizable, and perfect for sharing with family or friends. Whether I serve it for breakfast or dinner, it always hits the spot.
PrintGreen Chile and Extra Cheese Chilaquiles
5 Stars 4 Stars 3 Stars 2 Stars 1 Star
No reviews
Green Chile and Extra Cheese Chilaquiles are a comforting, Mexican-inspired dish made with crispy tortilla wedges, tangy green chiles, and melty cheese. Perfect for breakfast, brunch, or dinner, it’s a flavorful and satisfying skillet meal.
- Author: Ella
- Prep Time: 10 minutes
- Cook Time: 15 minutes
- Total Time: 25 minutes
- Yield: 4 servings
- Category: Breakfast
- Method: Skillet
- Cuisine: Mexican
- Diet: Vegetarian
Ingredients
- 10 corn tortillas, cut into wedges
- 1 1/2 cups green enchilada sauce or salsa verde
- 1 (4 oz) can diced green chiles
- 1 1/2 cups shredded cheese (Monterey Jack and cheddar blend recommended)
- 1/2 onion, finely chopped
- 2 garlic cloves, minced
- Oil for frying (vegetable or canola)
- Salt and pepper, to taste
- Optional toppings: sour cream, avocado slices, fresh cilantro, fried eggs
Instructions
- Heat oil in a large skillet over medium-high heat. Fry tortilla wedges in batches until golden and crispy. Drain on paper towels.
- Remove most of the oil from the skillet, leaving about 1 tbsp. Sauté chopped onion and garlic until soft and fragrant, about 2 minutes.
- Add green enchilada sauce and diced green chiles to the skillet. Simmer for 2–3 minutes.
- Return the crispy tortillas to the skillet and gently toss to coat with the sauce.
- Sprinkle shredded cheese over the top. Cover and cook for 1–2 minutes, just until cheese melts.
- Top with sour cream, avocado, cilantro, or a fried egg if desired. Serve immediately.
Notes
- Use red enchilada sauce for a different flavor profile.
- Add protein like shredded chicken, cooked chorizo, or black beans.
- Try queso fresco or pepper jack cheese for variation.
- Use thick tortilla chips as a shortcut.
- Bake tortilla wedges at 400°F instead of frying for a lighter version.
Nutrition
- Serving Size: 1 serving
- Calories: 370
- Sugar: 3g
- Sodium: 650mg
- Fat: 22g
- Saturated Fat: 8g
- Unsaturated Fat: 11g
- Trans Fat: 0g
- Carbohydrates: 28g
- Fiber: 4g
- Protein: 12g
- Cholesterol: 25mg


