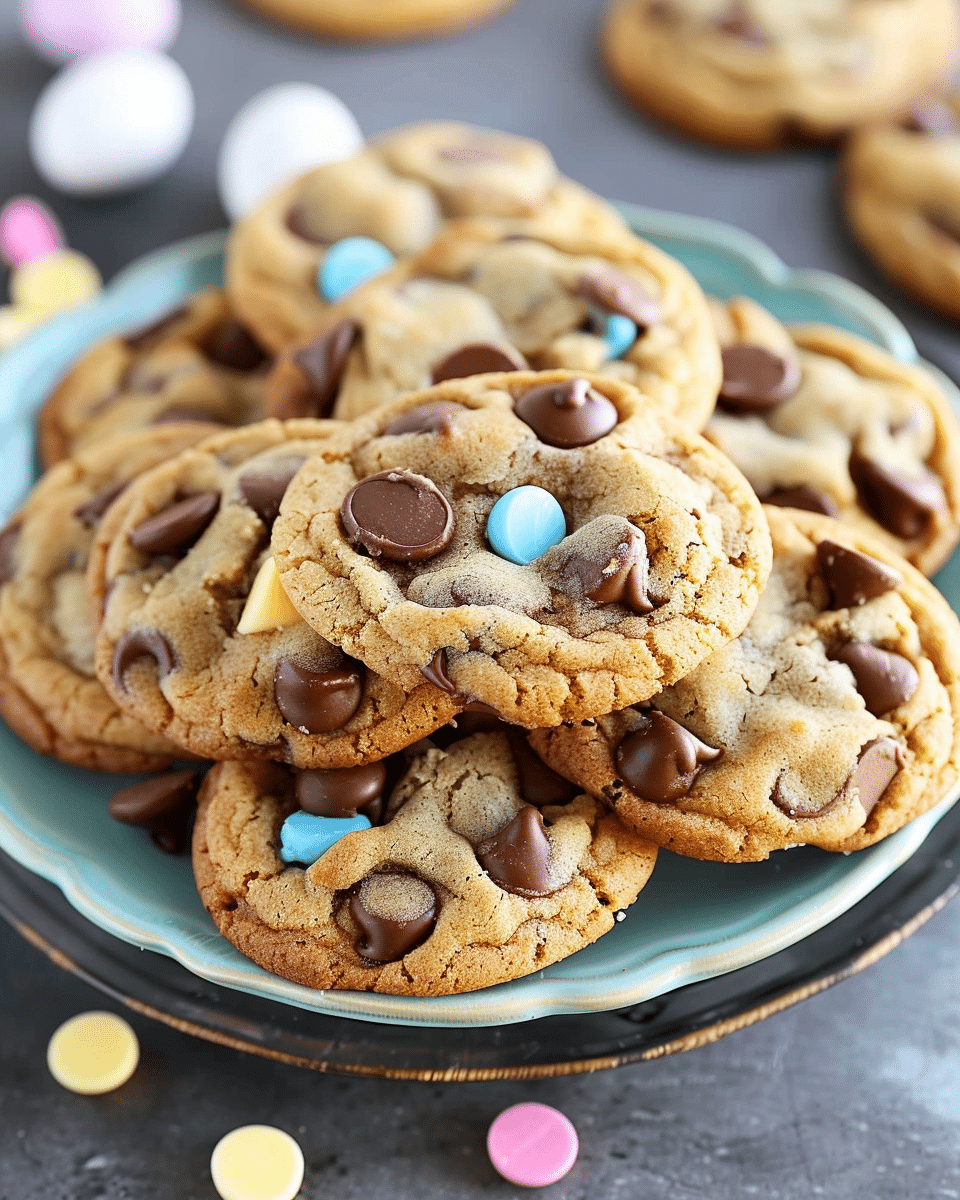
I enjoy how this recipe combines a traditional chocolate chip cookie base with a playful Easter twist. The pastel marbling makes each cookie unique, and I like that no two look exactly the same.
I also appreciate how soft and chewy these cookies turn out. The centers stay tender while the edges are lightly golden. The brief chilling step helps keep the colors distinct, and I find the process of twisting the dough together both creative and relaxing.
These cookies are perfect for Easter gatherings, spring parties, or simply baking something fun at home.
Ingredients
(Here’s a tip: Check out the full list of ingredients and measurements in the recipe card below.)
1 cup (2 sticks) unsalted butter, softened to room temperature ¾ cup granulated sugar ¾ cup packed light brown sugar 2 large eggs, at room temperature 2 teaspoons pure vanilla extract 2¼ cups all-purpose flour 1 teaspoon baking soda ½ teaspoon salt 2 cups semi-sweet chocolate chips Gel food coloring in pastel shades (such as pink, yellow, blue, and lavender)
Directions
I start by creaming the softened butter, granulated sugar, and brown sugar together with an electric mixer on medium speed for about 3–4 minutes, until the mixture becomes light, fluffy, and pale in color.
I beat in the eggs one at a time, making sure each is fully incorporated before adding the next. Then I mix in the vanilla extract until everything is smooth.
In a separate bowl, I whisk together the flour, baking soda, and salt. I gradually add the dry ingredients to the wet mixture on low speed, mixing just until no dry streaks remain. I make sure not to overmix and stop as soon as the dough comes together.
Using a silicone spatula, I gently fold in the chocolate chips until evenly distributed throughout the dough.
I divide the dough into 4 equal portions, placing each in its own bowl. I add a small amount of gel food coloring to each portion, starting with just a toothpick tip. I gently knead the dough by hand until the color is uniform, adding more coloring gradually if needed to achieve soft pastel shades.
If the dough feels too soft or sticky, I refrigerate it for 15–20 minutes. This step makes marbling easier and helps prevent the colors from blending too much.
To create the marbled cookies, I take 1 tablespoon of each colored dough and loosely press them together in my palm. I give the bundle 1–2 gentle twists to create a swirl without fully blending the colors, then roll it lightly into a ball. I repeat this process until all the dough is used, yielding about 24–28 cookies.
About 15 minutes before baking, I preheat the oven to 175°C and line baking sheets with parchment paper or silicone mats.
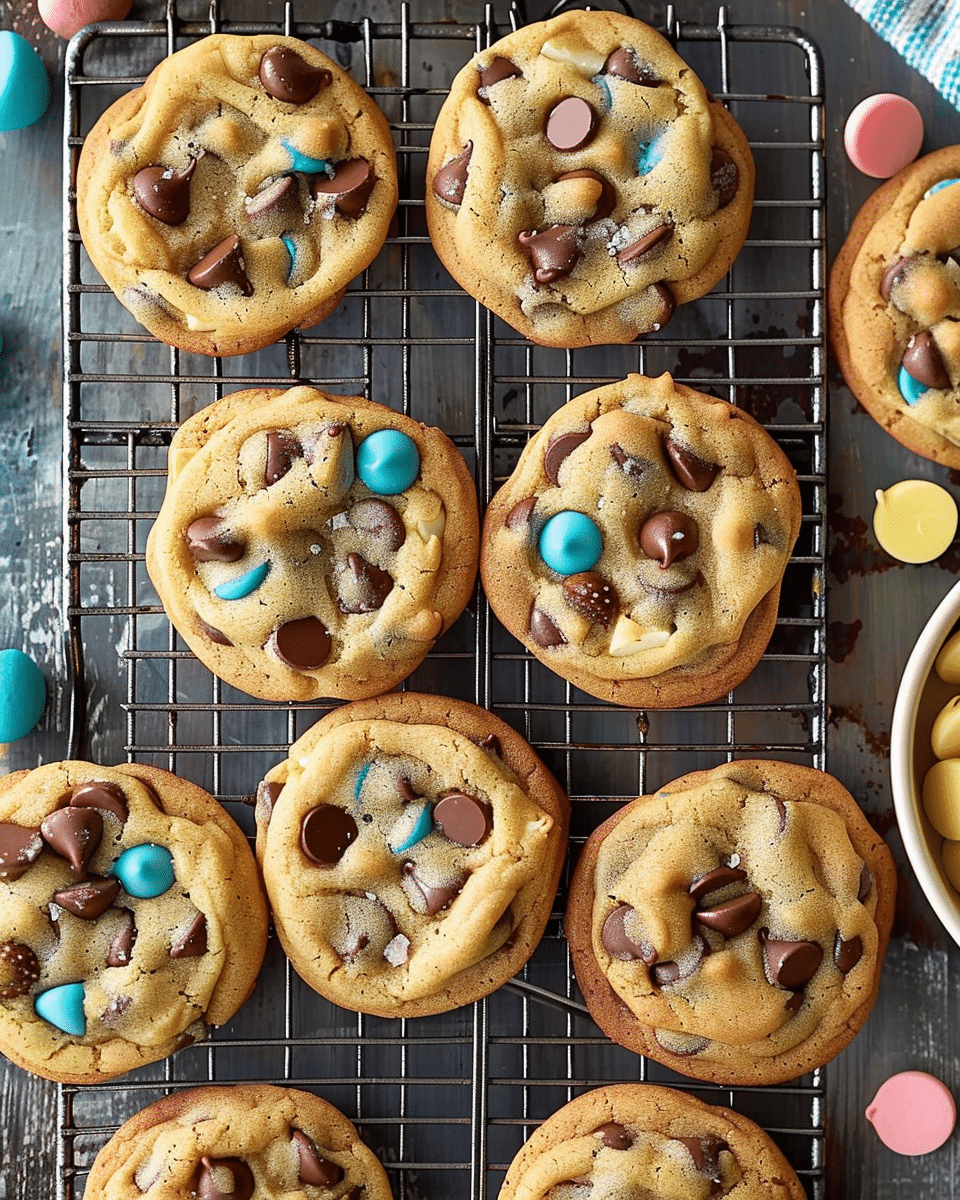
I place the dough balls about 2 inches apart on the prepared baking sheets. I bake one sheet at a time on the center rack for 10–12 minutes. I look for lightly golden edges while the centers still appear slightly underdone, which keeps them chewy.
I let the cookies rest on the baking sheet for 5 minutes before transferring them to a wire rack to cool completely.
Servings and timing
This recipe makes approximately 24–28 cookies, depending on the size I roll them.
I usually need about 20 minutes for preparation, 15–20 minutes for optional chilling, and 10–12 minutes per baking batch. In total, I plan for about 45–60 minutes from start to finish.
Variations
I sometimes mix white chocolate chips or pastel candy-coated chocolates into the dough for extra color and sweetness. For a richer flavor, I brown the butter before creaming it with the sugars, making sure to let it cool first.
If I want a more subtle look, I swirl only two pastel colors instead of four. I also enjoy adding a light sprinkle of flaky sea salt on top just before baking to balance the sweetness.
Storage/reheating
I store the cookies in an airtight container at room temperature for up to 5 days. To keep them extra soft, I sometimes place a small piece of bread in the container to maintain moisture.
If I want to enjoy them warm again, I heat a cookie in the microwave for about 8–10 seconds. I also freeze the baked cookies for up to 3 months, letting them thaw at room temperature before serving.
FAQs
Can I Make The Dough Ahead Of Time?
Yes, I often prepare the dough a day in advance. I keep it tightly covered in the refrigerator and let it sit at room temperature for about 20 minutes before shaping and baking.
Will The Colors Blend Too Much During Baking?
If I twist the dough gently and avoid overmixing, the colors stay nicely defined. Chilling the dough briefly also helps maintain clear pastel swirls.
Can I Use Liquid Food Coloring Instead Of Gel?
I prefer gel food coloring because it is more concentrated and does not thin the dough. Liquid coloring can work, but I add it carefully to avoid making the dough too soft.
How Do I Keep The Cookies Soft And Chewy?
I slightly underbake them so the centers still look soft when I remove them from the oven. Letting them rest on the baking sheet for 5 minutes finishes the cooking process without drying them out.
Can I Freeze The Cookie Dough?
Yes, I shape the marbled dough into balls and freeze them on a baking sheet until firm. Then I transfer them to a freezer bag and bake directly from frozen, adding 1–2 extra minutes to the baking time.
Conclusion
I find these Easy Easter Chocolate Chip Cookies to be the perfect combination of classic comfort and festive charm. They are soft, chewy, colorful, and fun to make. Whenever I want a cheerful dessert that tastes just as good as it looks, this recipe is one I happily return to every spring.
Soft and chewy Easy Easter Chocolate Chip Cookies made with buttery dough, pastel gel food coloring, and rich semi sweet chocolate chips. These colorful marbled cookies are perfect for Easter dessert tables, spring baking, and festive family treats.
Author:Ella
Prep Time:20 minutes
Cook Time:10–12 minutes
Total Time:35 minutes
Yield:24–28 cookies
Category:Dessert, Cookies
Method:Baking
Cuisine:American
Diet:Vegetarian
Ingredients
1 cup (2 sticks) unsalted butter, softened to room temperature
¾ cup granulated sugar
¾ cup packed light brown sugar
2 large eggs, room temperature
2 teaspoons pure vanilla extract
2¼ cups all-purpose flour
1 teaspoon baking soda
½ teaspoon salt
2 cups semi-sweet chocolate chips
Gel food coloring in pastel shades (pink, yellow, blue, lavender)
Instructions
Cream Butter and Sugars
In a large bowl, beat softened butter, granulated sugar, and brown sugar on medium speed for 3–4 minutes until light and fluffy.
Add Wet Ingredients
Beat in eggs one at a time, mixing well after each addition. Stir in vanilla extract until smooth.
Mix Dry Ingredients
In a separate bowl, whisk flour, baking soda, and salt. Gradually mix into wet ingredients on low speed until just combined. Do not overmix.
Fold in Chocolate Chips
Gently stir in chocolate chips with a spatula until evenly distributed.
Divide and Color Dough
Divide dough into 4 equal portions (about 1⅓ cups each). Place each in a separate bowl. Add a small amount of gel food coloring (using a toothpick) and gently knead until evenly tinted. Add more color gradually to achieve soft pastel tones.
Chill (Optional)
Refrigerate dough for 15–20 minutes if it feels too soft. This helps prevent colors from blending too much.
Create Marbled Dough Balls
Take 1 tablespoon of each colored dough and loosely press together. Twist gently once or twice to create a swirl effect, then roll lightly into a ball. Repeat to form about 24–28 cookies.
Preheat Oven
Preheat oven to 350°F (175°C). Line baking sheets with parchment paper or silicone baking mats.
Bake
Place dough balls 2 inches apart on baking sheets. Bake one sheet at a time for 10–12 minutes. Edges should be lightly golden while centers look slightly soft.
Cool
Let cookies rest on the baking sheet for 5 minutes before transferring to a wire rack to cool completely.
Notes
Gel food coloring works best since it won’t thin the dough.
For extra Easter flair, press a few pastel chocolate candies on top before baking.
Do not over-twist the dough to maintain the marbled effect.
Store in an airtight container at room temperature for up to 5 days.


