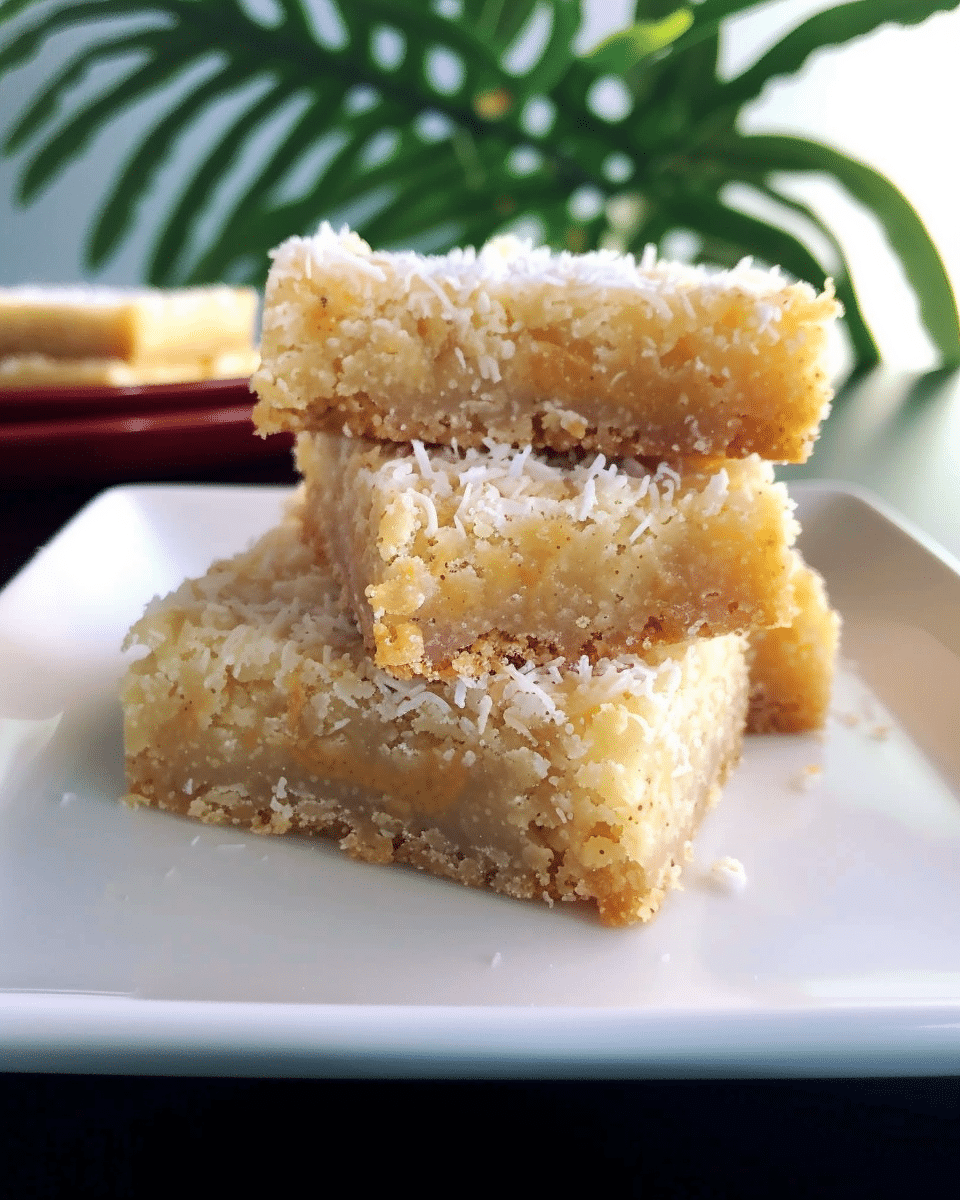
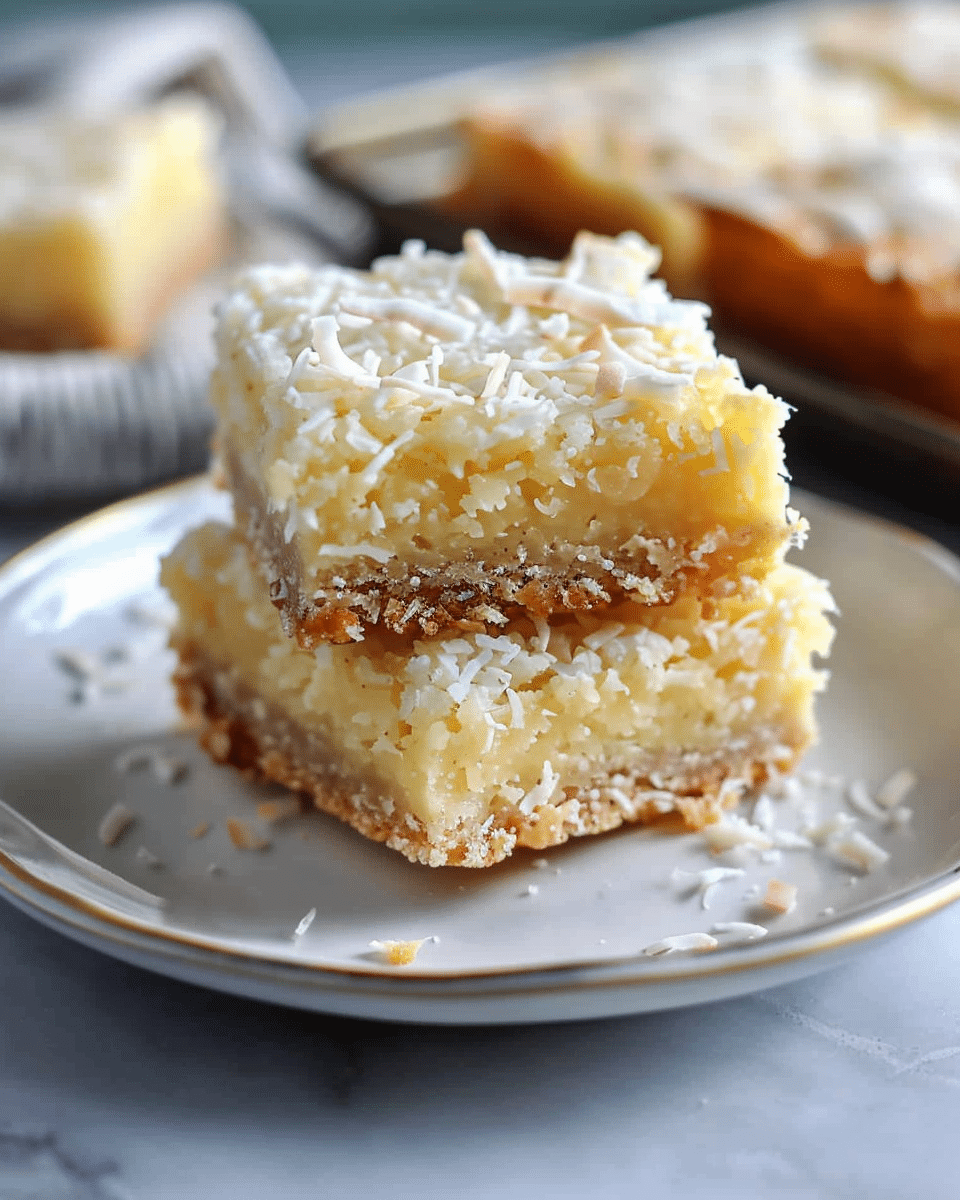
I love the contrast of textures in these bars—the buttery, crumbly crust pairs beautifully with the creamy coconut filling and slightly toasted top. They’re sweet without being overwhelming, and each bite melts in my mouth. They’re also super easy to make ahead and ideal for potlucks, holidays, or when I just want to treat myself.
Ingredients
(Here’s a tip: Check out the full list of ingredients and measurements in the recipe card below.)
For the crust:
2 cups flour
1 cup brown sugar, packed
1 teaspoon salt
1 cup butter (2 sticks), melted
For the filling:
1/2 cup flour
1 (14 oz) can sweetened condensed milk
2 tablespoons granulated sugar
3 eggs
1/4 cup butter, melted
2 teaspoons vanilla extract
1 teaspoon salt
3 cups sweetened shredded coconut
1 cup sweetened shredded coconut (for topping)
Directions
I start by preheating the oven to 350°F and lightly greasing a 9×13-inch baking dish.
To make the crust, I mix together the flour, brown sugar, salt, and melted butter in a medium bowl until a dough forms.
I press the dough evenly into the prepared pan using my hands or a spatula.
I bake the crust for 13–15 minutes, until it’s lightly golden and set.
While the crust bakes, I prepare the filling. In a large bowl, I mix together the flour, sweetened condensed milk, granulated sugar, eggs, melted butter, vanilla extract, salt, and 3 cups of shredded coconut.
I pour the filling over the baked crust and spread it into an even layer. Then I sprinkle the remaining 1 cup of coconut evenly over the top.
I bake for another 25–28 minutes, until the filling is set and the top coconut is lightly browned.
Once baked, I let the bars cool completely in the pan before slicing and serving.
Servings and timing
This recipe serves 12. Prep time: 10 minutes Cook time: 40 minutes Total time: 50 minutes
Variations
Here are a few fun ways I like to change it up:
I sometimes add a handful of chopped pecans or almonds to the filling for a nutty crunch.
A splash of rum extract or coconut extract deepens the flavor even more.
For a chocolate twist, I sprinkle mini chocolate chips over the top before baking.
If I want a slightly less sweet version, I use unsweetened coconut in the topping to balance things out.
Storage/Reheating
These bars store beautifully:
I keep them in an airtight container at room temperature for up to 3 days, or in the fridge for up to 5.
To freeze, I wrap individual bars in plastic wrap and place them in a freezer-safe bag for up to 2 months.
I let frozen bars thaw at room temperature or warm them briefly in the microwave for that gooey texture.
FAQs
Can I use unsweetened coconut?
Yes, I’ve used unsweetened coconut when I want to tone down the sweetness. The texture is still great, and the flavor is a little more balanced.
Do I need to use condensed milk?
Yes—sweetened condensed milk is essential for the gooey, rich texture in the filling. Evaporated milk or regular milk won’t work the same way.
Can I make these gluten-free?
I haven’t tried it myself, but using a 1:1 gluten-free flour blend for both the crust and filling should work. The texture may vary slightly.
How do I know when the bars are done baking?
I look for the top to be lightly browned and the center to be set—it shouldn’t jiggle. If I’m unsure, I gently tap the pan or check with a toothpick.
Can I make these ahead of time?
Definitely. I often bake them a day ahead and let them sit overnight—the flavor deepens, and they slice even more cleanly once cooled.
Conclusion
Coconut Butter Bars are one of those magical desserts that feel both nostalgic and tropical at the same time. With a tender crust and rich, sweet coconut filling, they’re easy to make and even easier to love. Whether I’m baking for a special occasion or just because, these bars are always a hit.


