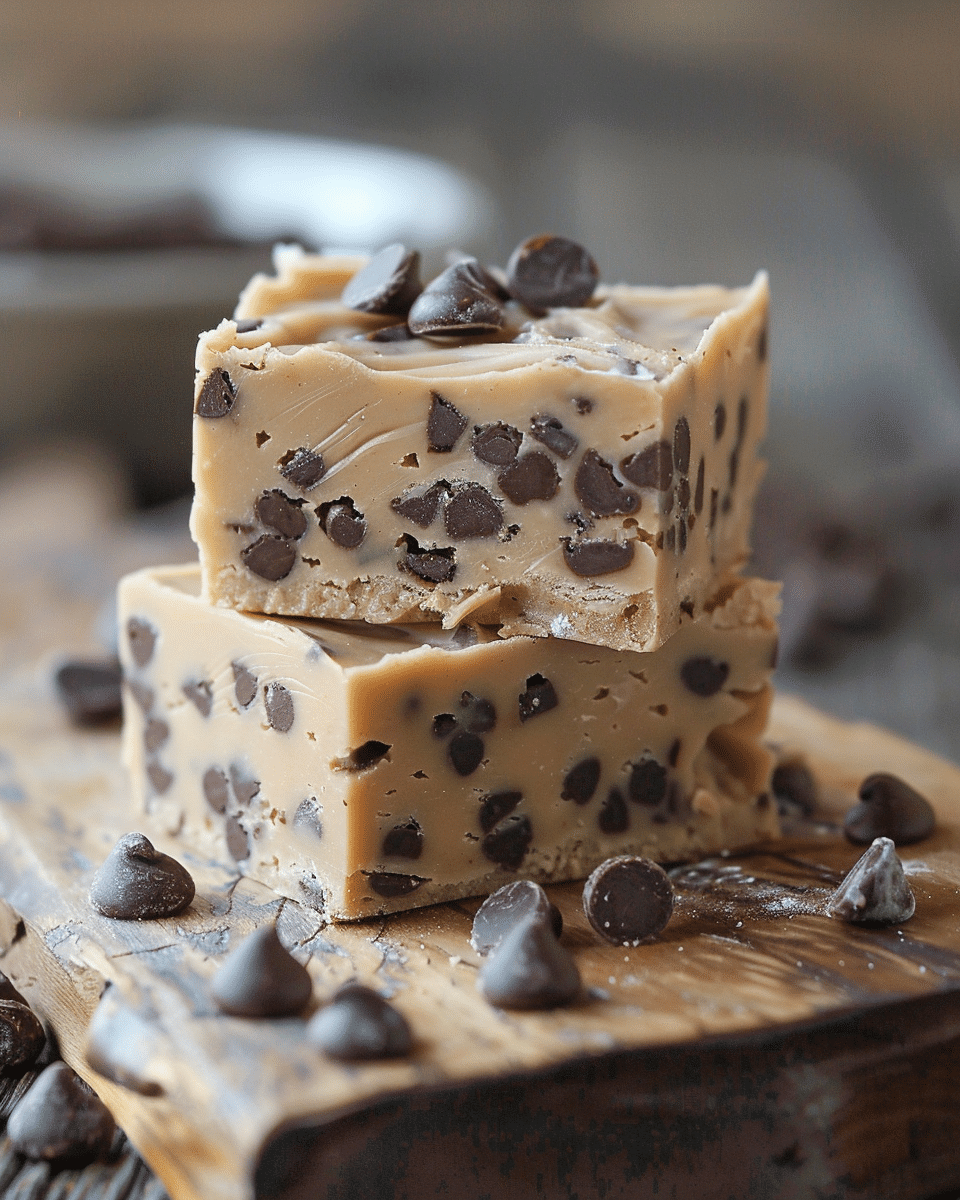
I love how this dessert hits two cravings at once: cookie dough flavor and fudge texture. I also like that it’s a simple microwave-and-mix situation, so it feels low-effort but still looks impressive when I cut it into neat squares. The mix of semi-sweet and white chocolate gives it a balanced sweetness, and freezing some chips first helps them hold their shape in the final fudge.
Ingredients
(Here’s a tip: Check out the full list of ingredients and measurements in the recipe card below.)
1 cup all-purpose flour
⅓ cup packed light brown sugar
¼ cup granulated sugar
¼ teaspoon salt
2 cups semi-sweet chocolate chips, divided
1½ cups white chocolate chips
½ cup salted sweet cream butter, softened
2 tablespoons milk
1 teaspoon vanilla extract
14 oz can sweetened condensed milk
Directions
I line an 8×8-inch baking dish with parchment paper and lightly coat it with nonstick spray, then I set it aside.
I put the flour in a small heat-safe bowl and microwave it for 1 minute. I let it cool completely, then I sift it to remove clumps.
I place 1 cup of the semi-sweet chocolate chips in a zip-top bag and freeze them while I prep everything else.
In a medium bowl, I use a handheld mixer to cream the softened butter, granulated sugar, light brown sugar, milk, vanilla extract, and salt for about 1½ to 2 minutes.
I reduce the mixer speed to low, add the sifted flour, and mix just until combined, then I set this mixture aside.
In a heat-safe medium bowl, I microwave the white chocolate chips and sweetened condensed milk in 30-second intervals, stirring really well between each round, until the mixture is fully melted and smooth.
I take the frozen semi-sweet chocolate chips out of the freezer and stir them into the butter-and-flour mixture with a wooden spoon.
I fold the melted white chocolate and condensed milk mixture into the dough mixture until it’s just combined.
I spoon the mixture into my prepared baking dish and smooth the top.
I sprinkle the remaining 1 cup of semi-sweet chocolate chips evenly over the surface and gently press them in.
I cover the dish tightly and refrigerate it for at least 2 hours (or overnight).
Once chilled, I lift the fudge out and cut it into 25 squares in a 5 x 5 grid.
Servings and timing
I get 25 squares from an 8×8-inch pan.
Total time: 2 hours 15 minutes
Active time (what I’m doing): about 15 minutes
Chill time (hands-off): at least 2 hours
Variations
Peanut butter swirl: I warm a few spoonfuls of peanut butter and swirl it over the top before chilling, then I press the chips in lightly so the swirl still shows.
Dark chocolate twist: I swap the semi-sweet chips for dark chocolate chips when I want a deeper chocolate flavor.
Fun mix-ins: I fold in mini chocolate chips, chopped walnuts, or crushed pretzels for extra texture (I keep the add-ins to about ½ cup so the fudge still slices cleanly).
Vanilla “birthday” vibe: I stir in a couple tablespoons of sprinkles at the very end, right before pressing it into the pan, so the colors don’t bleed too much.
Extra cookie-dough feel: I add 1–2 tablespoons of mini chocolate chips directly into the base along with the frozen chips for more chip-to-bite coverage.
storage/reheating
I store the squares in an airtight container in the refrigerator for up to 1 week. For cleaner stacking, I separate layers with parchment paper.
If I want a softer bite, I let a square sit at room temperature for 10–15 minutes before eating. I don’t usually microwave this dessert because the chocolate chips can melt fast and make the texture greasy, but if I really want it warm, I do a very quick 5-second burst and stop there.
For longer storage, I freeze the squares in a single layer until firm, then I transfer them to a freezer-safe bag or container with parchment between layers. I thaw in the refrigerator or on the counter until the texture is fudgy again.
FAQs
Can I skip microwaving the flour?
I don’t skip it, because heating the flour helps make it safer to eat and also reduces that raw flour taste. I microwave it, cool it fully, and sift it so the dough stays smooth.
Why do I freeze some of the chocolate chips first?
I freeze a portion so the chips stay more intact when I stir and fold everything together. It helps me keep distinct chocolate chip bites instead of the chips melting into the mixture.
What if my white chocolate mixture looks thick or lumpy?
I keep stirring thoroughly between microwave intervals and use short bursts. If it’s thick, I usually just need a little more gentle heat and steady stirring to smooth it out.
Can I use an alternative pan size?
I can, but the thickness changes. A 9×9-inch pan makes thinner squares and chills a bit faster, while a loaf pan makes thicker pieces and may need more chill time for clean slicing.
How do I get clean, neat squares?
I chill it fully, lift it out using the parchment, and use a large knife. I wipe the blade between cuts, and if the top chips are dragging, I warm the knife under hot water, dry it, and slice with gentle pressure.
Conclusion
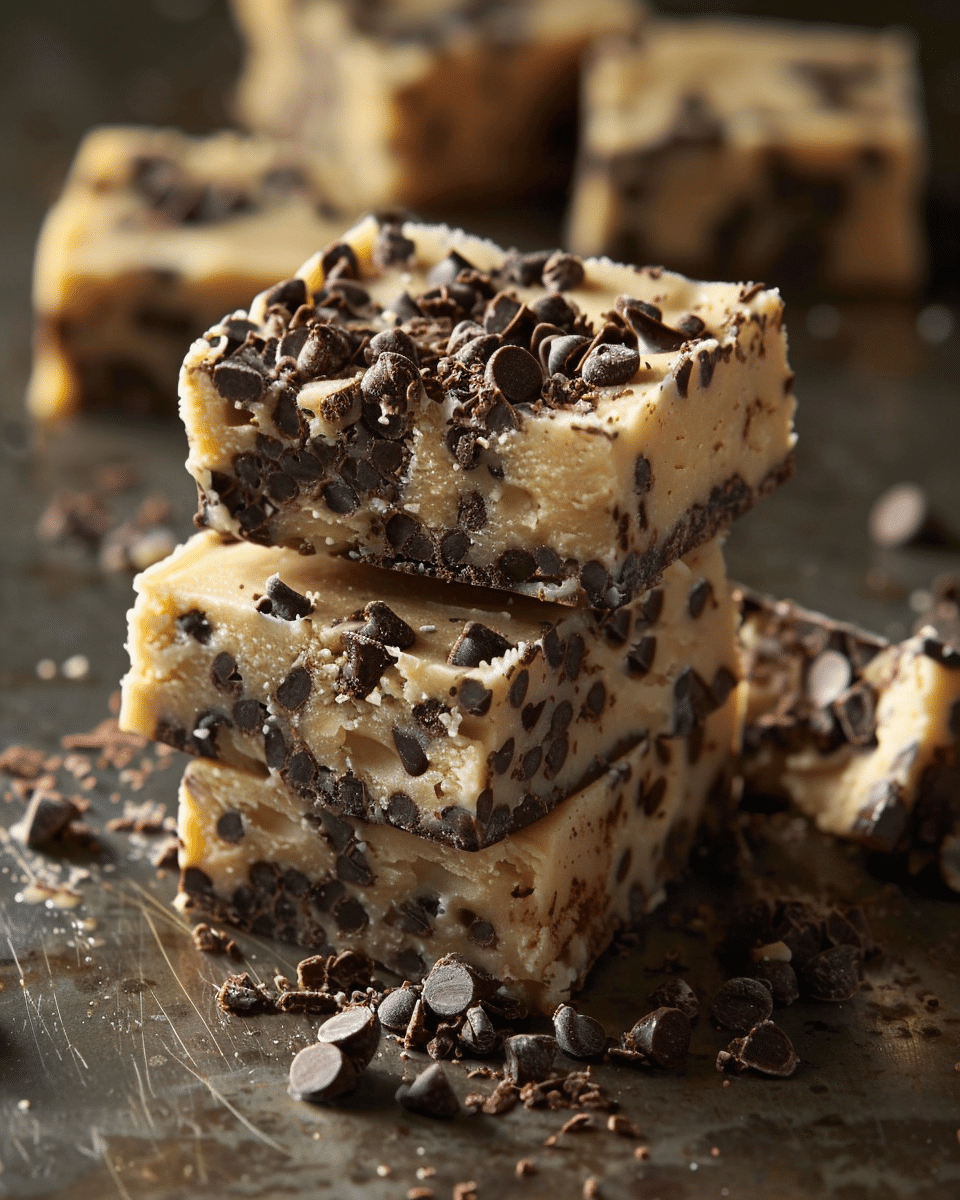
I keep this Cookie Dough Fudge Dessert in my back pocket for parties, holidays, or anytime I want a fast, no-bake treat that still feels special. I love the creamy cookie-dough base, the contrast of semi-sweet chips, and how easy it is to slice into shareable squares once it’s chilled.
Soft, creamy, and packed with chocolate chips, this no-bake-style cookie dough fudge sets up perfectly in the fridge for an easy crowd-pleasing dessert bite.
Author:Ella
Prep Time:15 minutes
Cook Time:0 minutes
Total Time:2 hours 15 minutes
Yield:25 servings
Category:Dessert
Method:Chill / No-bake (microwave melt)
Cuisine:American
Diet:Vegetarian
Ingredients
1 cup all-purpose flour
⅓ cup packed light brown sugar
¼ cup granulated sugar
¼ teaspoon salt
2 cups semi-sweet chocolate chips, divided
1½ cups white chocolate chips
½ cup salted sweet cream butter, softened
2 tablespoons milk
1 teaspoon vanilla extract
14 oz can sweetened condensed milk
Instructions
Prep the pan: Line an 8×8-inch baking dish with parchment paper and lightly coat with nonstick spray. Set aside.
Heat-treat the flour: Place flour in a small microwave-safe bowl and microwave for 1 minute. Cool completely, then sift to remove clumps.
Freeze some chocolate chips: Add 1 cup of semi-sweet chocolate chips to a zip-top bag and freeze while you prepare the dough.
Cream the base: In a medium bowl, use a handheld mixer to cream butter, granulated sugar, brown sugar, milk, vanilla, and salt for 1½–2 minutes.
Add flour: Reduce mixer speed to low, add sifted flour, and mix just until combined.
Melt white chocolate mixture: In a microwave-safe bowl, heat white chocolate chips + sweetened condensed milk in 30-second intervals, stirring well each time, until melted and smooth.
Stir in frozen chips: Remove frozen chips from the freezer and stir them into the dough with a wooden spoon.
Combine: Fold the melted white chocolate/condensed milk mixture into the dough mixture until just combined.
Pan it: Spoon into prepared dish and smooth the top.
Top + chill: Sprinkle remaining 1 cup semi-sweet chocolate chips over the top and gently press them in. Cover and refrigerate at least 2 hours (or overnight).
Slice + serve: Lift out, then cut into 25 squares (5×5).
Notes
Why microwave the flour? Heat-treating makes the flour safe to eat in no-bake cookie dough desserts. Let it cool fully so it doesn’t melt the butter.
For cleaner cuts: Chill overnight if you can, and wipe your knife between slices.
Optional add-ins: Mini chocolate chips, chopped walnuts/pecans, or festive sprinkles work great (keep mix-ins small so it slices neatly).


