Why You’ll Love This Recipe
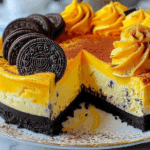
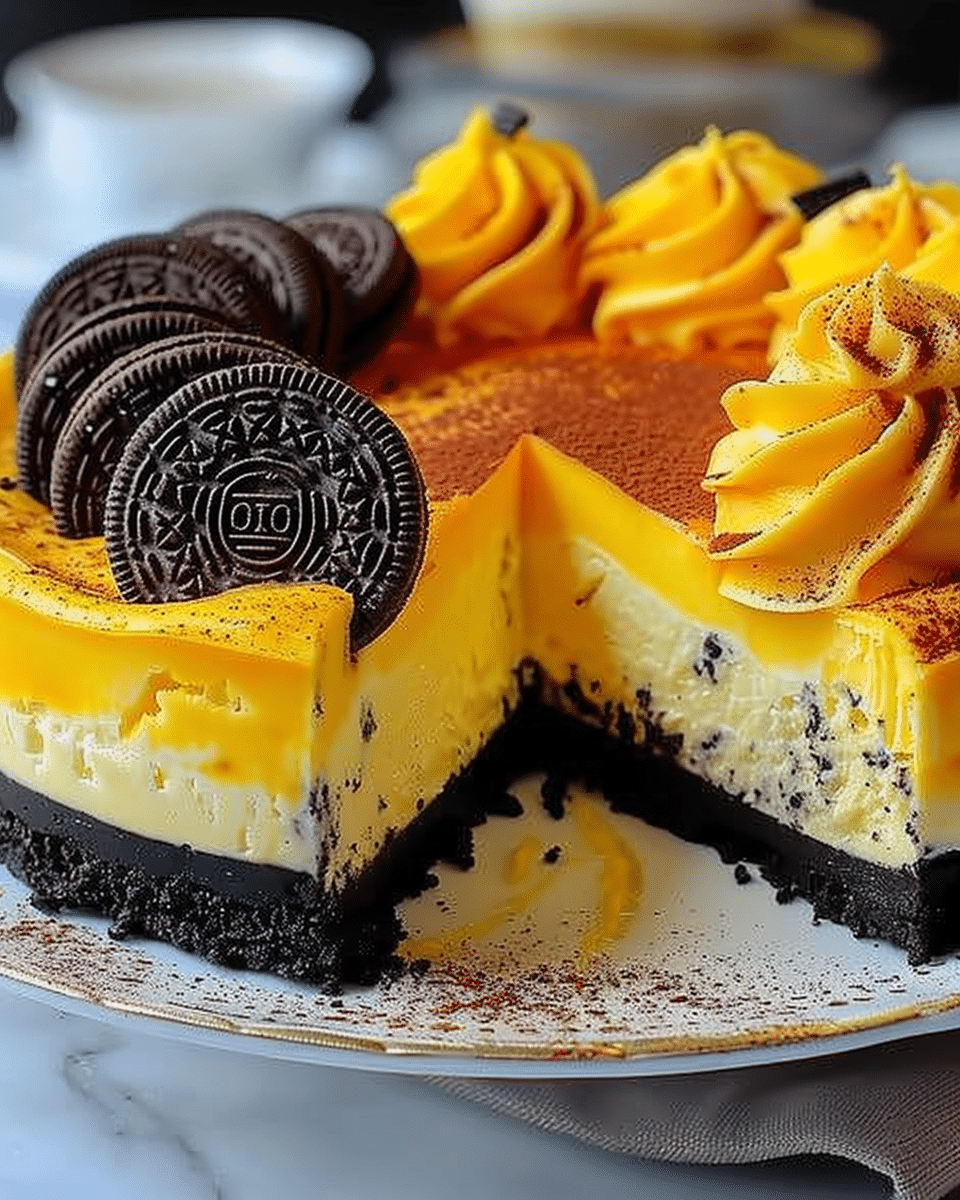
I love how this recipe brings together the elegance of a classic cheesecake with a fun pop of color and the deep chocolate flavor of Oreos. It’s smooth, creamy, and just the right amount of sweet. The yellow velvet filling is rich but light on the palate, and the crunchy base adds a satisfying contrast. I also appreciate the flexibility—bake it if I want a traditional texture, or chill it overnight for a quicker, no-bake version.
Ingredients
(Here’s a tip: Check out the full list of ingredients and measurements in the recipe card below.)
For the base
-
200 g Oreo cookies, crushed
-
100 g melted butter
For the cream
-
500 g cream cheese
-
¾ cup granulated sugar
-
1 cup cold heavy cream
-
2 tablespoons cornstarch
-
1 teaspoon vanilla extract
-
1 teaspoon white vinegar or lemon juice
-
½ cup milk
-
A few drops yellow food coloring
For the topping
-
Whipped cream
-
Crushed Oreos
Directions
-
I start by mixing the crushed Oreos with melted butter and pressing the mixture into the bottom of a springform pan. I chill the base in the fridge for about 10 minutes to set it.
-
In a large bowl, I beat the cream cheese and sugar together until smooth and lump-free.
-
I stir in the vanilla, milk, vinegar or lemon juice, and yellow food coloring until fully blended.
-
I gently fold in the cold heavy cream and cornstarch with a spatula until the mixture becomes creamy and smooth.
-
I pour the mixture over the chilled Oreo base and smooth the top with a spatula.
-
To bake: I bake the cheesecake at 160°C (320°F) for 50–60 minutes, then allow it to cool completely before chilling for at least 4 hours.
To make it no-bake: I skip the oven and refrigerate the cheesecake overnight until it’s firm and set. -
Just before serving, I garnish with whipped cream and a generous sprinkle of crushed Oreos for extra crunch and visual appeal.
Servings and timing
This recipe serves 10–12 slices, depending on how generous I cut them. It takes about 20 minutes to prep, and if I bake it, around 1 hour to cook, plus chilling time. The no-bake version is even easier—just prep and refrigerate overnight. Either way, I end up with a beautiful, crowd-pleasing dessert.
Variations
When I want a different flavor, I switch the yellow food coloring with pastel pink or light blue for seasonal variations. I’ve also tried using golden Oreos for a lighter base, or adding a layer of fruit compote between the crust and filling. For extra flavor depth, a few drops of almond or coconut extract add a subtle twist.
Storage/Reheating
I keep leftovers covered in the fridge for up to 5 days. The texture actually improves as it chills. For longer storage, I freeze individual slices wrapped tightly in plastic wrap and foil. To serve, I let them thaw in the fridge overnight. This cheesecake isn’t meant to be reheated, but it tastes fantastic cold.
FAQs
Can I make this without food coloring?
Yes, I can leave it out entirely—the flavor stays the same. The yellow is just for visual fun.
What’s the best way to crush the Oreos?
I usually pulse them in a food processor for a fine crumb, but placing them in a sealed bag and crushing with a rolling pin works just as well.
Can I use low-fat cream cheese?
I prefer full-fat for the creamiest texture, but low-fat versions work in a pinch, especially in the no-bake version.
Do I need to use a springform pan?
A springform pan makes removal and slicing much easier, but I’ve made this in a deep pie dish or square baking dish when needed.
Will this set properly without baking?
Yes, if I use the right balance of cream, cream cheese, and cornstarch, it sets beautifully in the fridge overnight. It just has a softer texture than the baked version.
Conclusion
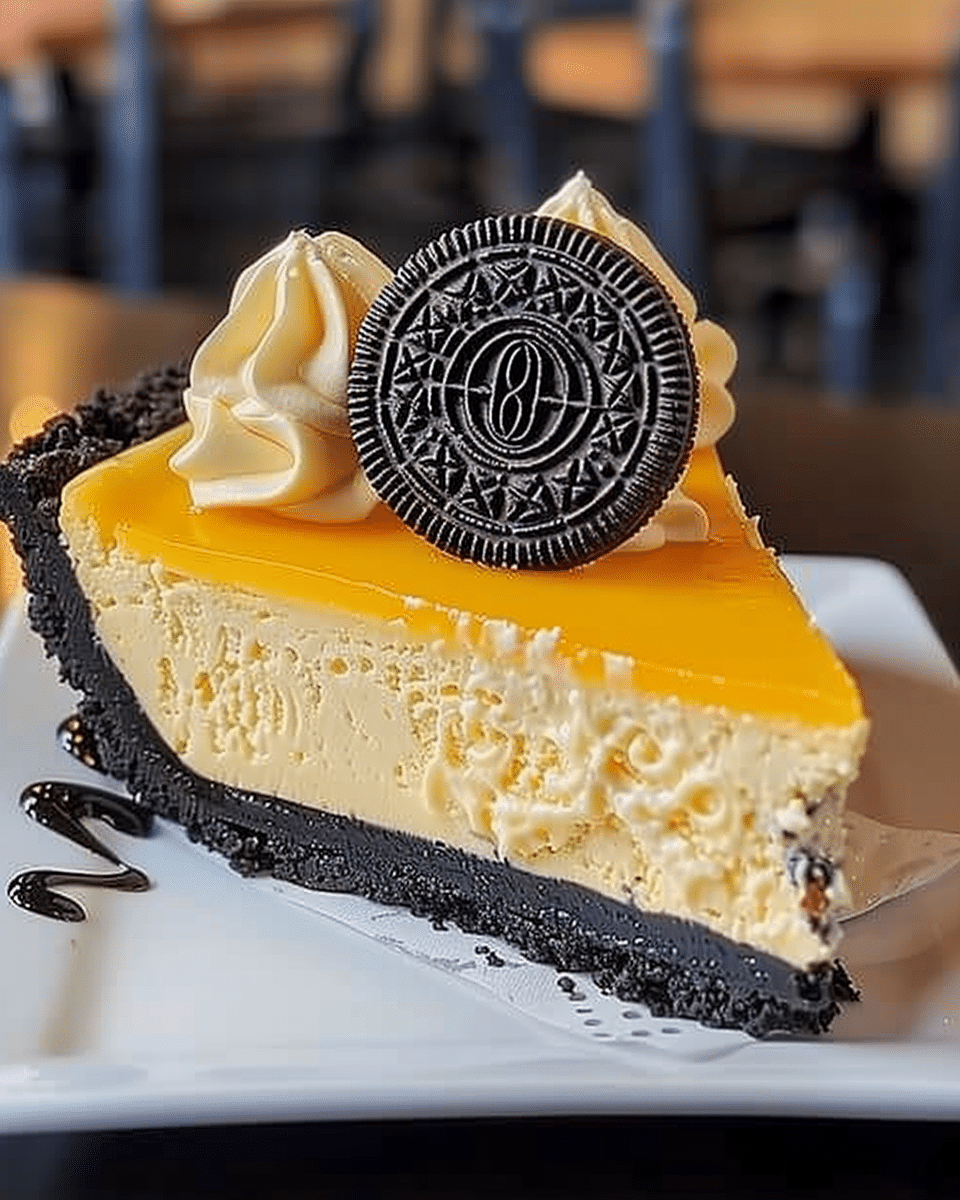
This Yellow Velvet Oreo Cheesecake is the perfect blend of fun and flavor. I love how simple it is to make and how impressive it looks when served. Whether I’m hosting a party or just enjoying a slice with coffee, this dessert always adds a cheerful touch to the table—and it tastes every bit as good as it looks.
PrintYellow Velvet Oreo Cheesecake
This stunning yellow velvet cheesecake features a smooth vanilla cream filling over a crunchy Oreo base—bake or chill for a dreamy dessert that’s as eye-catching as it is delicious.
- Prep Time: 20 minutes
- Cook Time: 60 minutes (if baking)
- Total Time: 1 hour 20 minutes (baked) / Overnight (no-bake)
- Yield: 8–10 servings
- Category: Dessert
- Method: No-Bake or Baked
- Cuisine: American
- Diet: Vegetarian
Ingredients
For the base:
200 g Oreo cookies (crushed)
100 g melted butter
For the cream filling:
500 g cream cheese
¾ cup granulated sugar
1 cup cold heavy cream
2 tablespoons cornstarch
1 teaspoon vanilla extract
1 teaspoon white vinegar or lemon juice
½ cup milk
A few drops yellow food coloring
For the topping:
Whipped cream
Crushed Oreos
Instructions
Make the Oreo base:
Combine crushed Oreos and melted butter. Press firmly into the bottom of a springform pan. Chill for 10 minutes.
Prepare the yellow velvet cream:
In a mixing bowl, beat cream cheese and sugar until smooth and creamy.
Add vanilla extract, milk, vinegar (or lemon juice), and yellow food coloring. Mix well.
Fold in the cold heavy cream and cornstarch using a spatula until evenly combined and fluffy.
Assemble:
Pour the cream mixture over the chilled Oreo base and smooth the top.
Bake or Chill:
Baked version: Bake at 160°C (320°F) for 50–60 minutes. Let it cool completely.
No-bake version: Refrigerate overnight until set.
Decorate:
Top with whipped cream and crushed Oreos before serving.
Notes
Adjust yellow food coloring based on your desired vibrancy.
For a tangier flavor, use lemon juice instead of vinegar.
For easier slicing, refrigerate the cheesecake for at least 4 hours after baking.
Great for birthdays, spring events, or as a fun twist on classic cheesecake.

