I enjoy this recipe because it requires only a handful of pantry-friendly ingredients and very little preparation. I don’t have to mix a traditional cake batter, making it one of the easiest desserts I can bake. The juicy cherry filling pairs perfectly with the buttery cake topping, creating a delicious combination of textures. I also appreciate that it’s perfect for feeding a crowd and can be customized with different fruit fillings.
Ingredients
(Here’s a tip: Check out the full list of ingredients and measurements in the recipe card below.)
42 ounces cherry pie filling (two 21-ounce cans)
1 teaspoon vanilla extract
15.25 ounces yellow cake mix
1 cup unsalted butter, melted
½ cup whole milk
Directions
I preheat the oven to 350°F and lightly spray a 9×13-inch baking dish with cooking spray.
In a medium bowl, I stir together the cherry pie filling and vanilla extract until well combined.
I spread the cherry mixture evenly into the prepared baking dish.
I evenly sprinkle the dry yellow cake mix over the cherry layer without stirring.
In a separate bowl, I combine the melted butter and whole milk.
I slowly pour the butter mixture over the dry cake mix, making sure to cover as much of the surface as possible. If I notice any dry spots, I gently press them into the butter mixture with a spoon without mixing the layers.
I bake for 45 to 50 minutes, or until the top is golden brown and the filling is bubbling around the edges.
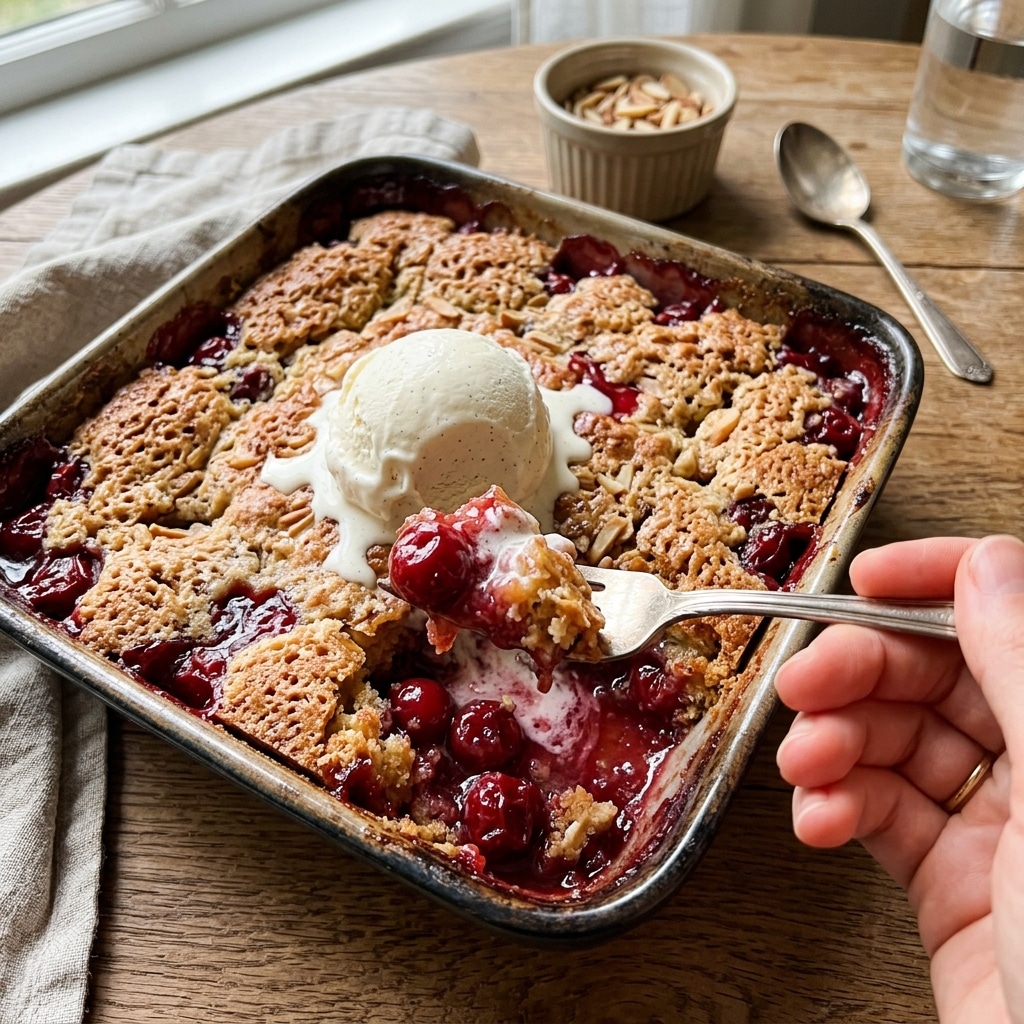
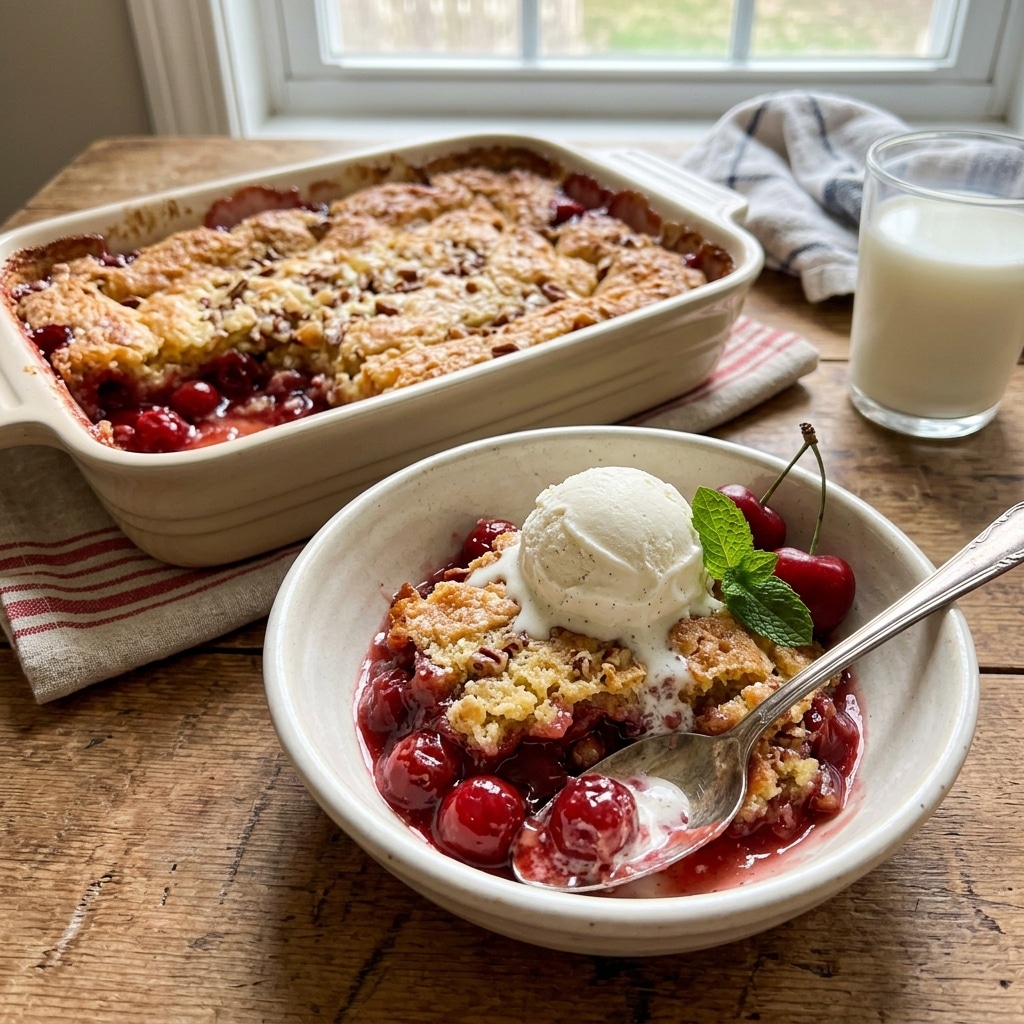
I serve the cake warm with vanilla ice cream or whipped topping if desired.
Servings and Timing
Servings: 12
Prep Time: 10 minutes
Bake Time: 45 minutes
Total Time: 55 minutes
Variations
I like to experiment with different pie fillings to create new flavors. Apple, peach, blueberry, blackberry, or mixed berry pie filling all work wonderfully in place of cherries. Sometimes I add chopped pecans, walnuts, or sliced almonds over the cake mix before baking for extra crunch. I also enjoy using white cake mix or butter cake mix for a slightly different flavor profile. A sprinkle of cinnamon or almond extract can add another delicious layer of flavor.
Storage/Reheating
I store leftover Cherry Dump Cake in an airtight container or tightly covered baking dish in the refrigerator for up to 4 days. If I want to keep it longer, I freeze individual portions for up to 3 months. When I’m ready to enjoy another serving, I reheat it in the microwave for about 30 to 60 seconds or warm it in a 300°F oven until heated through. I like serving it warm because the topping becomes wonderfully buttery and the filling is perfectly gooey.
FAQs
Why is it called a dump cake?
I call it a dump cake because I simply layer the ingredients into the baking dish without preparing a traditional cake batter.
Can I use homemade cherry pie filling?
Yes. I can substitute homemade cherry pie filling as long as I use about the same amount as two standard cans.
Do I have to use whole milk?
No. I can substitute 2% milk or another milk of my choice, although whole milk provides a richer texture.
Why shouldn’t I stir the layers together?
I leave the layers separate because this allows the cake mix to bake into a crisp, buttery topping while the fruit filling stays soft and juicy underneath.
Can I make Cherry Dump Cake ahead of time?
Yes. I often bake it a day in advance and reheat it just before serving. It’s especially delicious served warm with ice cream or whipped cream.
Conclusion
I enjoy making Cherry Dump Cake because it’s one of the easiest desserts I can prepare with consistently delicious results. The sweet cherry filling, buttery golden topping, and minimal preparation make it a reliable recipe for both casual family meals and special occasions. Whether I serve it on its own or with a scoop of ice cream, this comforting dessert always disappears quickly.
Cherry Dump Cake is an easy dessert made with sweet cherry pie filling, buttery golden cake topping, and simple pantry ingredients. Perfect served warm with whipped cream or vanilla ice cream.
Author:Ella
Prep Time:10 minutes
Cook Time:45 minutes
Total Time:55 minutes
Yield:12 servings
Category:Dessert
Method:Baking
Cuisine:American
Diet:Vegetarian
Ingredients
2 (21-ounce) cans cherry pie filling (42 ounces total)
1 teaspoon vanilla extract
1 (15.25-ounce) box yellow cake mix
1 cup unsalted butter, melted
½ cup whole milk
Instructions
Preheat the oven to 350°F (175°C). Lightly grease a 9×13-inch baking dish with nonstick cooking spray.
In a medium bowl, stir together the cherry pie filling and vanilla extract until combined.
Spread the cherry mixture evenly into the prepared baking dish.
Sprinkle the dry yellow cake mix evenly over the cherry filling, covering the entire surface.
In a small bowl, whisk together the melted butter and whole milk.
Slowly pour the butter mixture evenly over the cake mix, covering as much of the dry mix as possible. If any dry patches remain, gently press them into the butter mixture with the back of a spoon. Do not stir the layers together.
Bake for 45–50 minutes, or until the topping is golden brown and the cherry filling is bubbling around the edges.
Allow the cake to cool for 10–15 minutes before serving.
Serve warm with vanilla ice cream or whipped cream, if desired.
Notes
Do not mix the cake mix into the fruit filling—the distinct layers create the signature dump cake texture.
If using unsalted butter, you can add a small pinch of salt for extra flavor.
Try substituting blueberry, peach, apple, or mixed berry pie filling for delicious variations.
Add sliced almonds, chopped pecans, or walnuts before baking for extra crunch.
Store leftovers covered in the refrigerator for up to 4 days.
Reheat individual servings in the microwave or warm the entire dish in a 325°F (163°C) oven.
Serve with vanilla ice cream, whipped cream, or a drizzle of heavy cream for the ultimate dessert.


