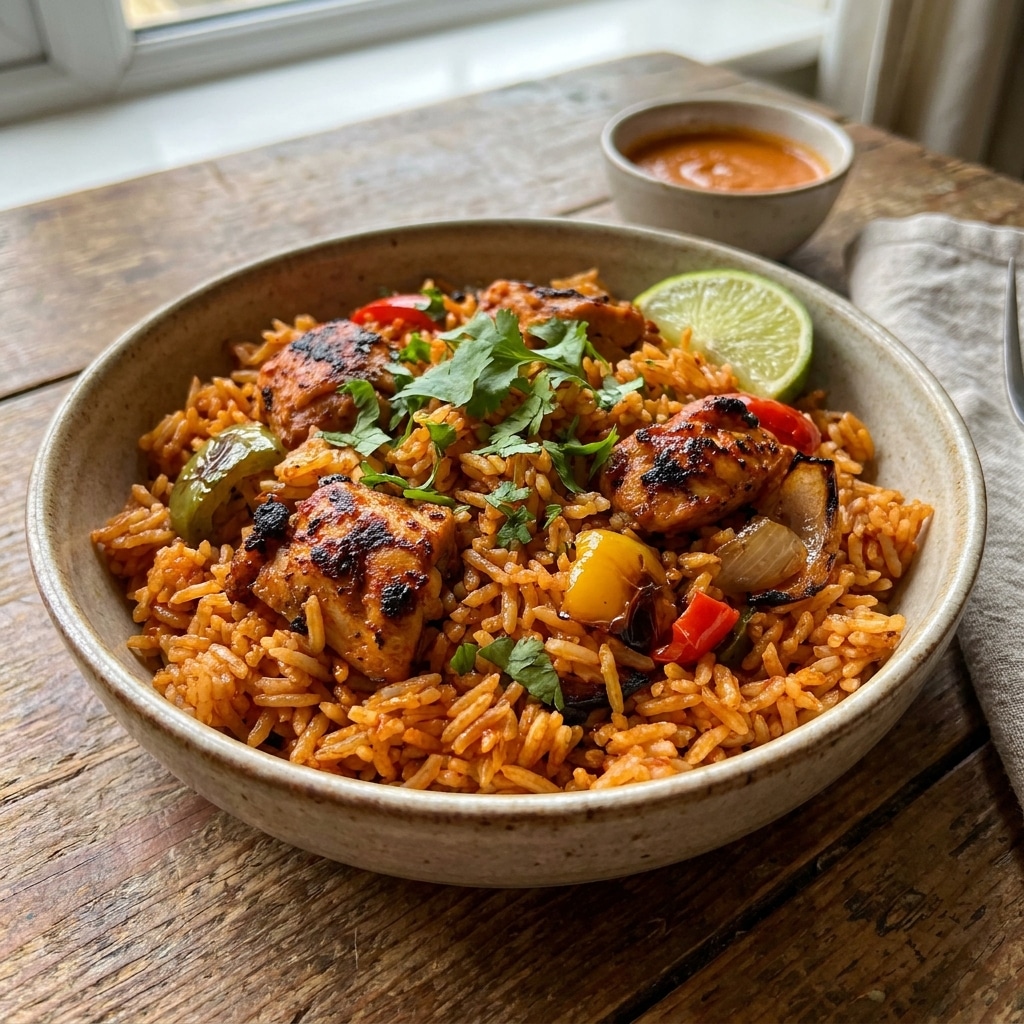
I love this recipe because it brings together the rich flavors of Jollof rice and the fiery kick of peri peri sauce. The roasted vegetables create a deep, smoky flavor, while the marinated chicken stays juicy and tender. I also appreciate that the homemade sauce can be adjusted to suit my preferred spice level. The combination of rice and chicken makes this a complete meal that always impresses.
Ingredients
(Here’s a tip: Check out the full list of ingredients and measurements in the recipe card below.)
For the Sauce
5–10 Thai chili peppers, add more for extra heat
4 large bell peppers (about 200g each)
2 large onions
2 bulbs garlic
Fresh thyme sprigs or 1 teaspoon dried thyme
2 Knorr chicken seasoning cubes
1 tablespoon sugar
1 teaspoon salt
2 teaspoons paprika
1 tablespoon lemon juice
1 tablespoon oil
For the Chicken
1200 g chicken
½–1 teaspoon salt
½ cup peri peri sauce
For the Peri Peri Jollof Rice
1–2 tablespoons oil
Handful of onions, chopped
4 oz tomato paste
Peri peri sauce
1–2 bay leaves
2 cups water or chicken stock
3 cups rice
½–1 teaspoon salt (skip if using chicken stock)
Cilantro, for garnish
Directions
Prepare the Sauce
I preheat the oven to 400°F (200°C).
I place the Thai chili peppers, bell peppers, onions, garlic, and thyme on a baking tray and roast them for about 30 minutes until tender and lightly charred.
Once the vegetables have cooled slightly, I transfer them to a blender. I add the Knorr chicken seasoning cubes, sugar, salt, paprika, lemon juice, and oil, then blend until smooth. I set the sauce aside.
Prepare the Chicken
I place the chicken in a large bowl and season it with salt and ½ cup of the peri peri sauce.
I mix everything thoroughly and let the chicken marinate for at least 30 minutes.
I preheat an air fryer or grill to 350°F (175°C).
I cook the chicken for approximately 35 minutes, turning it halfway through cooking, until fully cooked and beautifully browned. I set it aside while preparing the rice.
Prepare the Peri Peri Jollof Rice
I heat the oil in a large pot over medium heat.
I add the chopped onions and sauté them until soft and translucent.
I stir in the tomato paste and cook it for about 8 minutes to develop a rich flavor.
I add the blended peri peri sauce and bay leaves, then cook for another 3 to 5 minutes while stirring occasionally.
I pour in the chicken stock or water and bring the mixture to a boil. I taste and adjust the seasoning if needed.
I add the rice and stir well to combine.
I reduce the heat to medium-low, cover the pot, and cook for 30 to 35 minutes until the rice is tender and has absorbed the liquid.
Once cooked, I fluff the rice gently with a fork.
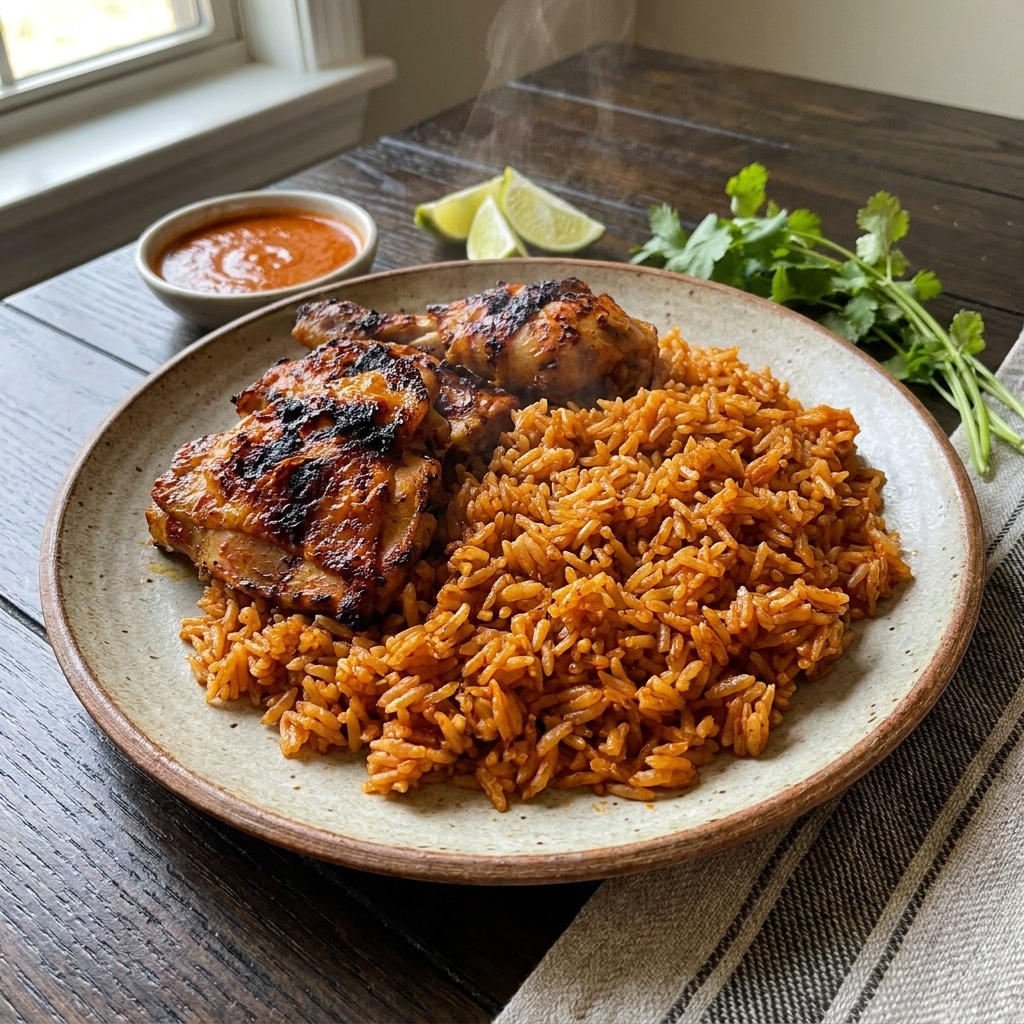
I serve the peri peri Jollof rice alongside the grilled chicken and garnish with fresh cilantro. I also enjoy serving it with fried plantains for a complete meal.
Servings and Timing
Servings: 6
Prep Time: 1 hour
Cook Time: 1 hour
Total Time: 2 hours
Variations
I sometimes use chicken thighs instead of a whole cut-up chicken because they stay especially juicy during cooking.
For a milder version, I reduce the number of Thai chili peppers and add extra bell peppers.
I like adding mixed vegetables such as carrots and peas to the rice for additional color and texture.
When I want an even smokier flavor, I finish the rice using the traditional Jollof method of allowing it to steam over low heat for a few extra minutes.
storage/reheating
I store leftover rice and chicken in separate airtight containers in the refrigerator for up to 4 days.
For longer storage, I freeze portions for up to 3 months.
To reheat the rice, I add a splash of water or stock and warm it in the microwave or on the stovetop over low heat.
I reheat the chicken in the oven, air fryer, or microwave until heated through.
FAQs
What is peri peri sauce?
Peri peri sauce is a spicy condiment made from chili peppers, garlic, herbs, and seasonings. I love how it adds heat and depth to both the chicken and rice.
Can I make this recipe less spicy?
Yes, I simply reduce the number of Thai chili peppers and increase the amount of bell peppers for a milder flavor.
Can I use store-bought peri peri sauce?
Yes, I can use a prepared peri peri sauce if I want to save time, although I enjoy the flavor of the homemade version.
What type of rice works best for Jollof rice?
I prefer long-grain rice because it cooks evenly and absorbs the flavorful sauce beautifully.
Can I prepare the sauce in advance?
Yes, I often make the peri peri sauce a day ahead and keep it refrigerated until I am ready to cook.
Conclusion
Peri Peri Jollof Rice and Chicken is a flavorful meal that combines spicy roasted pepper sauce, tender chicken, and richly seasoned rice into one unforgettable dish. I love serving it for family dinners and special occasions because it is both comforting and impressive. With its smoky, spicy, and savory flavors, this recipe is sure to become a favorite in my kitchen.
Peri Peri Jollof Rice and Chicken is a bold and flavorful meal featuring smoky jollof rice, spicy peri peri sauce, and juicy grilled chicken perfect for family dinners.
Author:Ella
Prep Time:1 hour
Cook Time:1 hour
Total Time:2 hours
Yield:6 servings
Category:Main Course
Method:Roasting, Grilling, Stovetop
Cuisine:West African, African Fusion
Diet:Gluten Free
Ingredients
For the Peri Peri Sauce
5–10 Thai chili peppers (adjust to taste)
4 large bell peppers (about 200 g each)
2 large onions
2 bulbs garlic
Fresh thyme sprigs or 1 teaspoon dried thyme
2 Knorr chicken seasoning cubes
1 tablespoon sugar
1 teaspoon salt
2 teaspoons paprika
1 tablespoon lemon juice
1 tablespoon oil
For the Chicken
1200 g chicken
½–1 teaspoon salt
½ cup peri peri sauce
For the Peri Peri Jollof Rice
1–2 tablespoons oil
Handful of onions, chopped
4 oz tomato paste
Remaining peri peri sauce
1–2 bay leaves
2 cups water or chicken stock
3 cups rice, rinsed
½–1 teaspoon salt (omit if using salted chicken stock)
Fresh cilantro, for garnish
Instructions
Prepare the Peri Peri Sauce
Preheat the oven to 400°F (200°C).
Arrange the Thai chili peppers, bell peppers, onions, garlic, and thyme on a baking tray.
Roast for 30 minutes or until softened and lightly charred.
Allow the vegetables to cool slightly.
Transfer the roasted vegetables to a blender and add the Knorr cubes, sugar, salt, paprika, lemon juice, and oil.
Blend until smooth and set aside.
Marinate and Cook the Chicken
Place the chicken in a large bowl and season with salt.
Add ½ cup of the peri peri sauce and mix thoroughly.
Marinate for at least 30 minutes or up to overnight for deeper flavor.
Preheat an air fryer or grill to 350°F (175°C).
Cook the chicken for approximately 35 minutes, turning halfway through cooking.
Remove from heat and set aside.
Prepare the Peri Peri Jollof Rice
Heat oil in a large pot over medium heat.
Add the chopped onions and sauté until soft and translucent.
Stir in the tomato paste and cook for about 8 minutes until slightly caramelized.
Add the remaining peri peri sauce and bay leaves. Cook for 3–5 minutes, stirring occasionally.
Pour in the chicken stock or water and bring to a boil.
Taste and adjust the seasoning with salt if needed.
Add the rice and stir well.
Reduce the heat to medium-low, cover tightly, and cook for 30–35 minutes or until the rice is tender and the liquid is absorbed.
Fluff the rice with a fork before serving.
Serve
Plate the peri peri Jollof rice alongside the grilled chicken.
Garnish with fresh cilantro.
Serve with fried plantains if desired.
Notes
Marinating the chicken overnight provides the best flavor.
Adjust the number of Thai chili peppers to control the spice level.
Chicken stock adds extra richness to the rice.
Keep the pot covered while the rice cooks to achieve authentic Jollof rice texture.
Leftovers can be refrigerated in an airtight container for up to 4 days.


