I love this recipe because it uses simple ingredients and transforms them into something rich and flavorful. The texture becomes incredibly creamy while the lemon flavor stays vibrant and refreshing. I also appreciate how versatile it is. I can use it for baking, breakfast spreads, dessert toppings, or even eat it straight from the spoon. The cooking method is straightforward, and once I learn the basic technique, it becomes a reliable recipe that turns out perfectly every time.
Ingredients
(Here’s a tip: Check out the full list of ingredients and measurements in the recipe card below.)
2 large eggs 2 egg yolks 1 cup granulated sugar ½ cup fresh lemon juice Zest of 3 lemons ½ teaspoon salt 8 tablespoons unsalted butter (cut into small pieces)
Directions
I start by placing a heatproof bowl over a saucepan filled with gently simmering water. I make sure the bowl sits above the water without touching it so the mixture cooks gently.
Next, I whisk the eggs, egg yolks, sugar, lemon juice, lemon zest, and salt together in the bowl until the mixture becomes smooth and well combined.
I cook the mixture over medium-low heat while whisking constantly. After about 8 to 12 minutes, the curd thickens enough to coat the back of a spoon, or it reaches around 170–175°F.
Once thickened, I remove the bowl from the heat and begin whisking in the butter one tablespoon at a time. I continue whisking until the butter melts completely and the curd becomes smooth and glossy.
For an extra silky texture, I sometimes strain the curd through a fine-mesh sieve to remove the zest and any tiny bits of cooked egg.
Finally, I press plastic wrap directly onto the surface of the curd to prevent a skin from forming. I let it cool and then refrigerate it for at least two hours before using.
Servings and timing
This recipe makes about 1 serving or roughly 1 cup of lemon curd.
Prep time: 10 minutes Cook time: 10–12 minutes Chilling time: 2 hours Total time: about 2 hours 15 minutes
Variations
I sometimes like to experiment with different citrus fruits. I replace lemon juice with lime juice for a sharper flavor or use orange juice for a sweeter and milder curd.
For a richer texture, I add an extra egg yolk to make the curd even more velvety. When I want a slightly lighter sweetness, I reduce the sugar slightly and add a bit more zest to keep the citrus flavor strong.
I also like folding the finished curd into whipped cream or yogurt to create a quick lemon mousse-style dessert.
storage/reheating
I store lemon curd in an airtight container in the refrigerator where it stays fresh for about one week. Keeping plastic wrap pressed against the surface helps prevent condensation and maintains the smooth texture.
If the curd becomes too firm after chilling, I gently stir it until smooth again. When I need to soften it slightly, I let it sit at room temperature for a few minutes or warm it very gently over a bowl of warm water.
I can also freeze lemon curd for up to three months in a sealed container. I thaw it in the refrigerator overnight before using.
FAQs
What does lemon curd taste like?
I find lemon curd to have a bright balance of sweetness and tartness. The lemons give it a fresh citrus flavor while the butter and eggs create a rich and creamy texture.
Why did my lemon curd turn out runny?
When my lemon curd turns out runny, it usually means it was not cooked long enough. I make sure it reaches the stage where it coats the back of a spoon or reaches around 170–175°F.
Can I make lemon curd without a double boiler?
Yes, I simply place a heatproof bowl over a saucepan with simmering water. This gentle heat helps prevent the eggs from scrambling while the curd thickens.
How do I know when lemon curd is done?
I check by dipping a spoon into the curd and running my finger across the back. If the line stays clear and the curd does not run back together, it is ready.
What can I use lemon curd for?
I enjoy spreading it on toast, filling cakes or tarts, layering it in parfaits, topping pancakes, or swirling it into yogurt and whipped cream desserts.
Conclusion
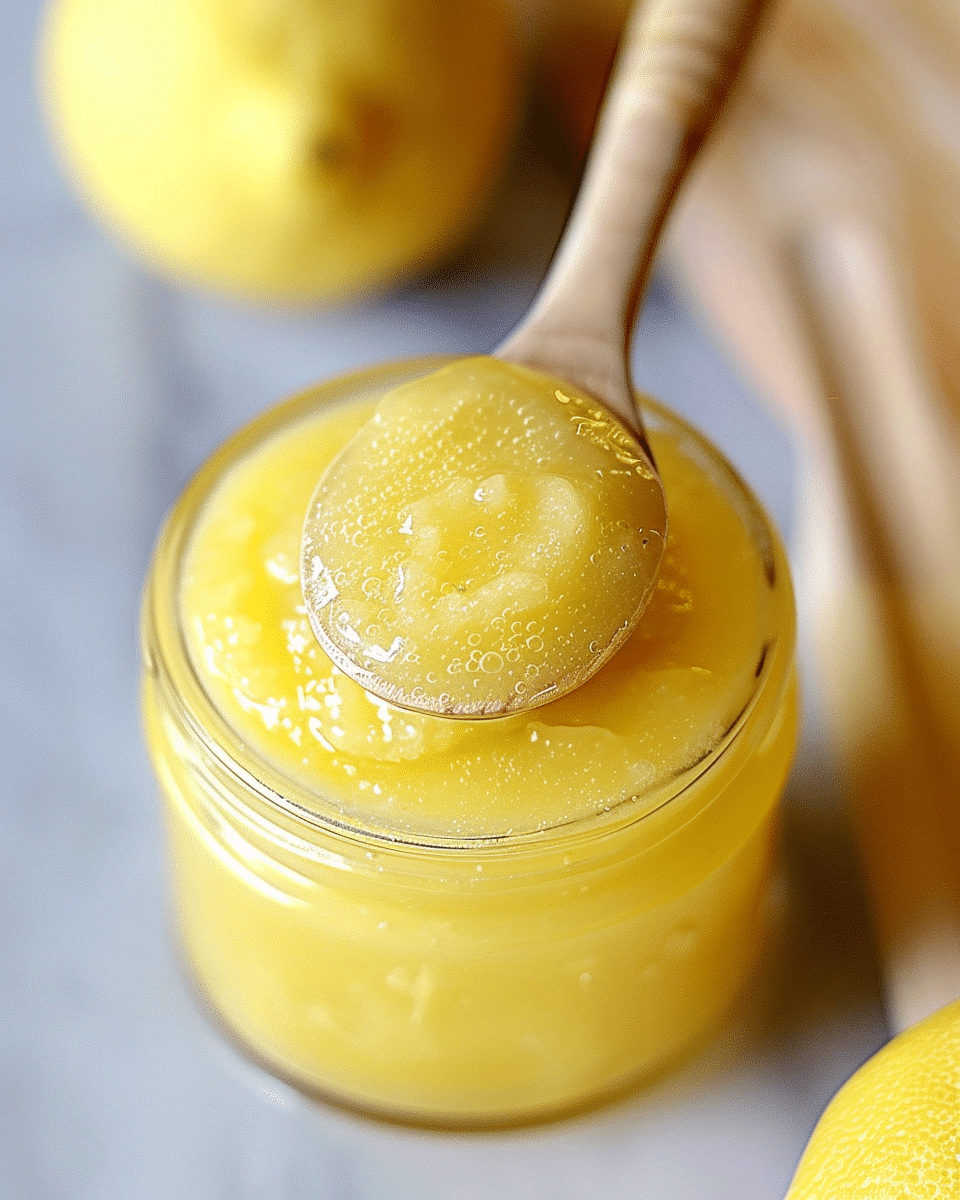
I love keeping a jar of homemade lemon curd in my refrigerator because it adds a burst of citrus flavor to so many dishes. The process is simple, the ingredients are basic, and the result is a smooth and vibrant cream that works beautifully in both desserts and breakfast treats. Once I make it from scratch, it quickly becomes one of my favorite kitchen staples.
Rich and creamy lemon curd bursting with fresh citrus flavor. This easy homemade recipe makes the perfect topping for toast, pastries, cupcakes, and classic lemon desserts.
Author:Ella
Prep Time:15 minutes
Cook Time:15 minutes
Total Time:2 hours 15 minutes (including chilling)
Yield:1 serving
Category:Dessert / Sauce & Spread
Method:Double Boiler
Cuisine:British / European
Diet:Vegetarian
Ingredients
2 large eggs
2 egg yolks
1 cup granulated sugar
½ cup fresh lemon juice
Zest of 3 lemons
½ teaspoon salt
8 tablespoons unsalted butter (cut into small pieces)
Instructions
Set a heatproof bowl over a saucepan of gently simmering water, making sure the bowl does not touch the water.
In the bowl, whisk together the eggs, egg yolks, sugar, lemon juice, lemon zest, and salt until smooth.
Cook over medium-low heat, whisking constantly for about 8–12 minutes, until the curd thickens enough to coat the back of a spoon or reaches 170–175°F (77–80°C).
Remove from heat and whisk in the butter one tablespoon at a time until fully melted and the mixture is smooth.
For an extra smooth texture, strain the curd through a fine-mesh sieve.
Press plastic wrap directly onto the surface of the curd and let it cool. Refrigerate for at least 2 hours before using.
Notes
Constant whisking prevents the eggs from scrambling.
Straining the curd removes zest and any small egg bits for a perfectly smooth finish.
Store lemon curd in an airtight container in the refrigerator for up to 1 week.


